My niece and I decided to do a project. She wanted to make a Wallet that would hold her phone. So we decided to just wing it. We needed pockets on the inside to hold money and IDs. And we wanted it large enough to hold her smart phone. This is what we came up with pockets on the inside…
What a week! Fall is here! It was 97 F yesterday and 80 F today with rain most of it. I almost got naked and did a thank you rain dance. I’m sure my neighbors were thankful because I rescued them from the ghastly vision of my interesting bits by deciding to go shop hopping instead. It was much more important grab two more shops on the Quilts Across Texas Shop Hop than it was to frighten the rain gods into dumping more water on me in an effort to make put my clothes back on. We got plenty of water today.
This past week my friend Jamie reposted a photo of a class sample that I did back in June. She showed off the quilt as you go watermelon table runner. Jamie got a big response from her Facebook peeps and they asked me to teach it again. I will in the spring. I offered to do something “Fall or Christmas” instead. We talked and decided a pumpkin would be very apropos for the next two months at least. So a pumpkin it is.
There are some vintage looking quilt as you go pumpkins made of strip piecing. At first I though we’d do that. It would be made just like the watermelon table runner but a pumpkin. Sounds easy. I decided to actually make a sample this time.
But as things go in my world I decided to change the plan just a bit to make things prettier.
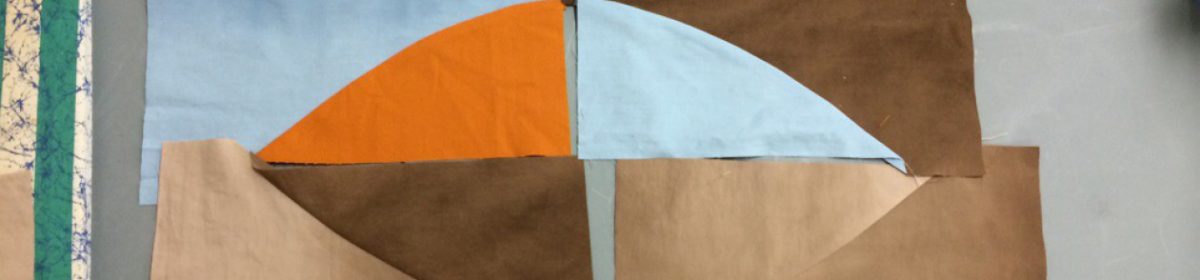
There is absolutely nothing on a pumpkin that is a straight line. So, I decided that instead of strips, we’d do curves instead, easy-peasy no-pin mild gentle curves that would suggest the 3D shape of the pumpkin. Great! I drew out a pattern and it is beautiful! Oh no! I realized we can’t do the stitch a strip and flip it over technique as easily now. We got those curves to deal with. This is intended to be a beginner level class… so what am I to do?
I have said all year that I would teach a Fast Piece Applique class à la Rose Hughes style. It’s fun, it’s fast, it gets fabulous results in a short time. Her books are great and I tell my peeps to, “buy them, buy all of them. Rose’s books will inspire you and teach you stuff, she’s great!” I decided that this is my chance to spread the news about the greatness of Rose. However, Jamie and I did put the news out that this is a quilt as you go kind of beginner class. So what to do?
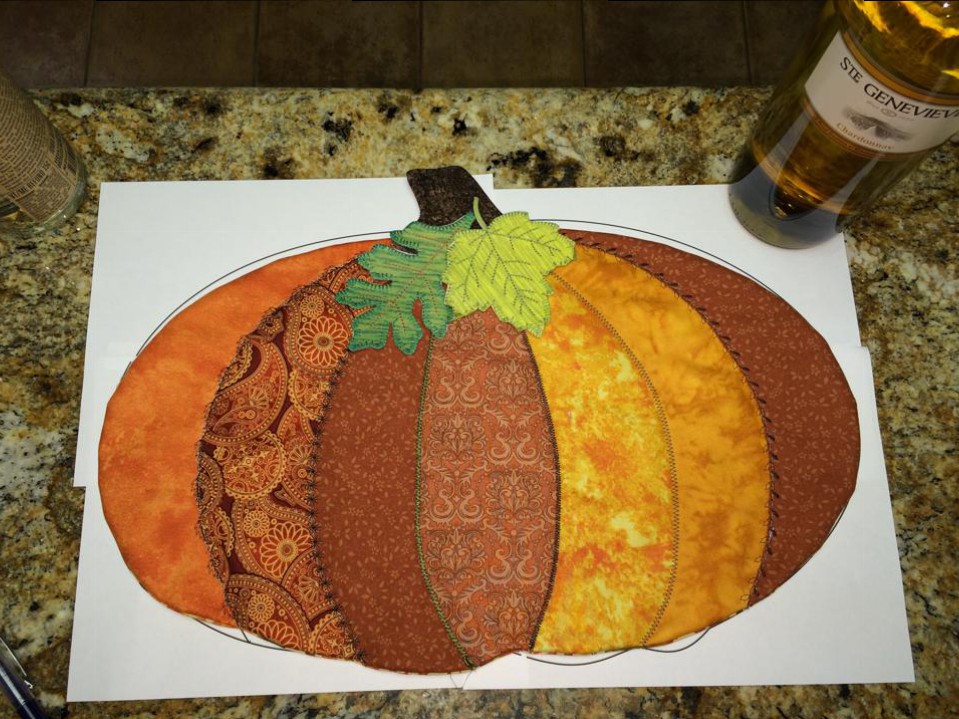
I decided we will do Rose’s technique and mangle it into a quilt as you go kind of thing and shorten the process just a bit. I put it together tonight, and because of the big pieces of pumpkin, it will work just fine. I think this is gonna excite my class! I’m excited to share it.
I was really surprised how the process fell together and how it sped up making the whole darn pumpkin centerpiece. And, best of all, it was fun and not that complicated.
I’m not going to show how I did it yet… I want to find any interesting foibles by making another sample tomorrow. For now… Here is a pic of what I did in just under an hour and 30 minutes.
My friend, or cohort in quilting crime, Carol, accompanied me to Valli and Kim a really awesome Texas Quilt shop. We saw nearby a store called Cowgirls and Lace. A friend of mine talked about how wonderful a place it was for decorating fabrics and all kinds of things. So of course, we just had to go in.
Cowgirls and lace had upholstery samples for just a dollar. Beautiful stuff!
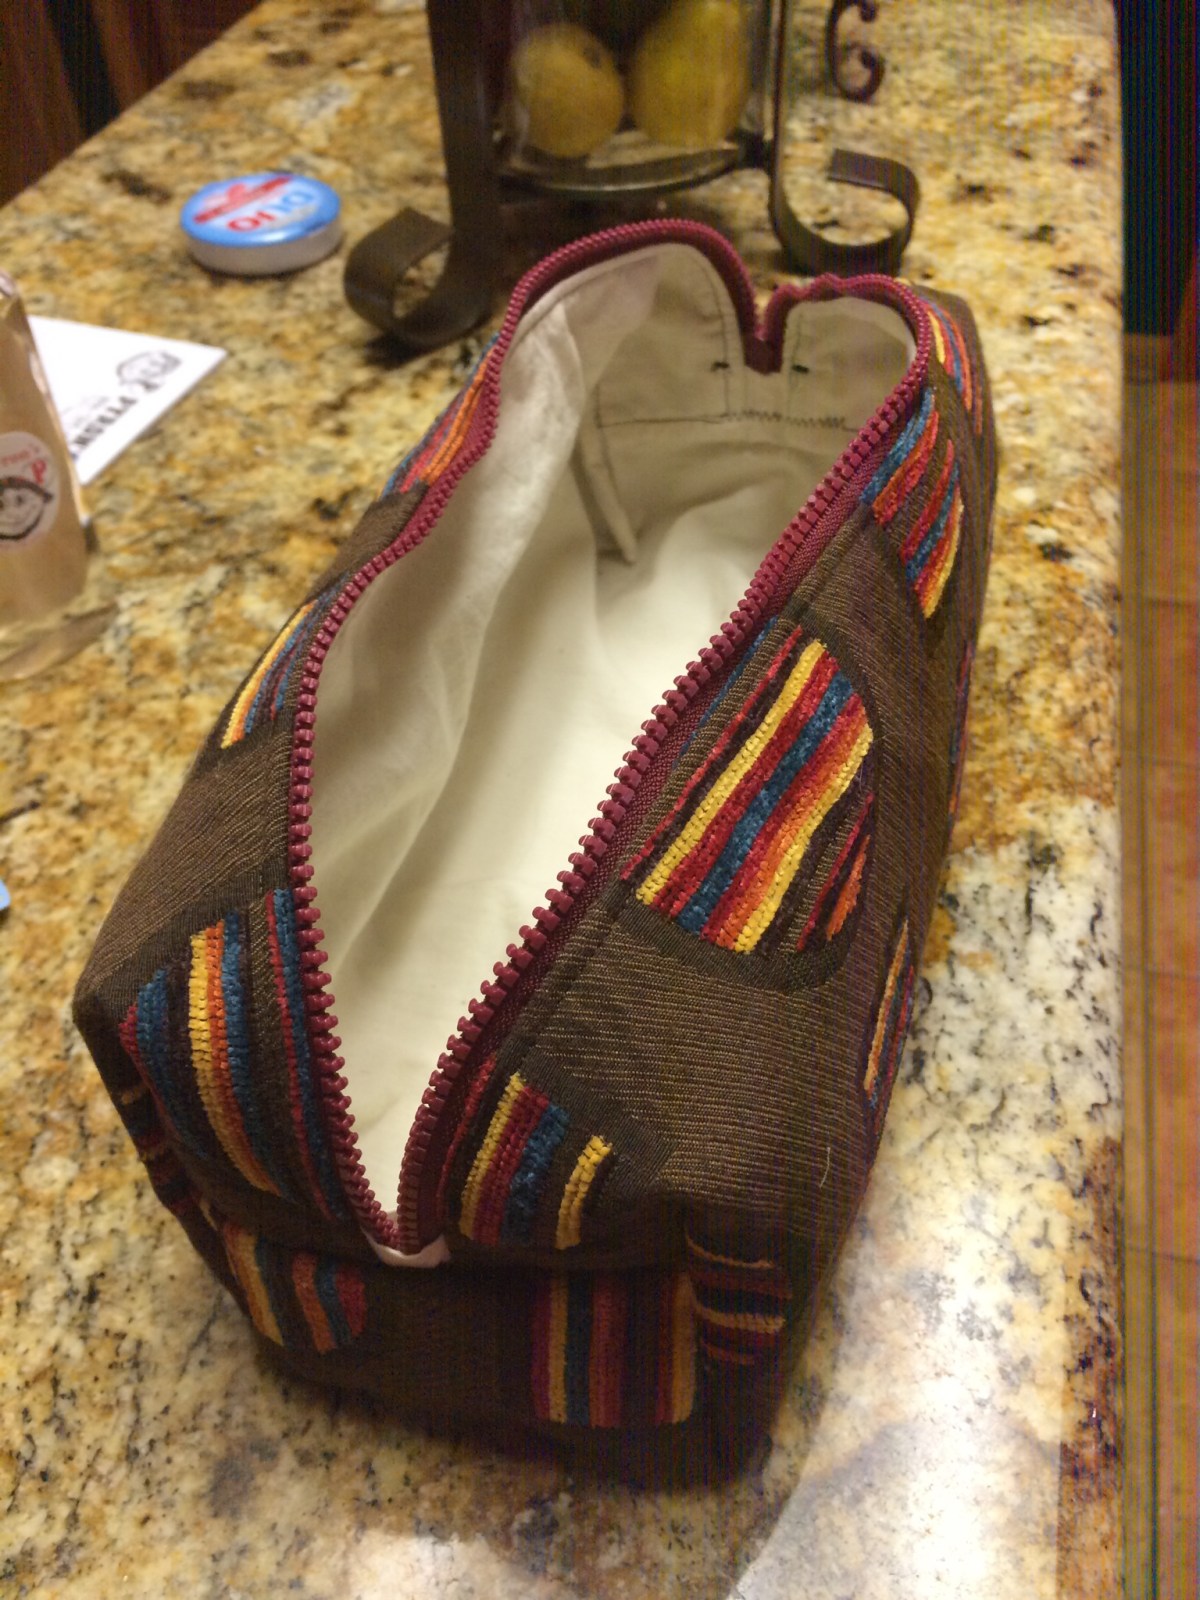
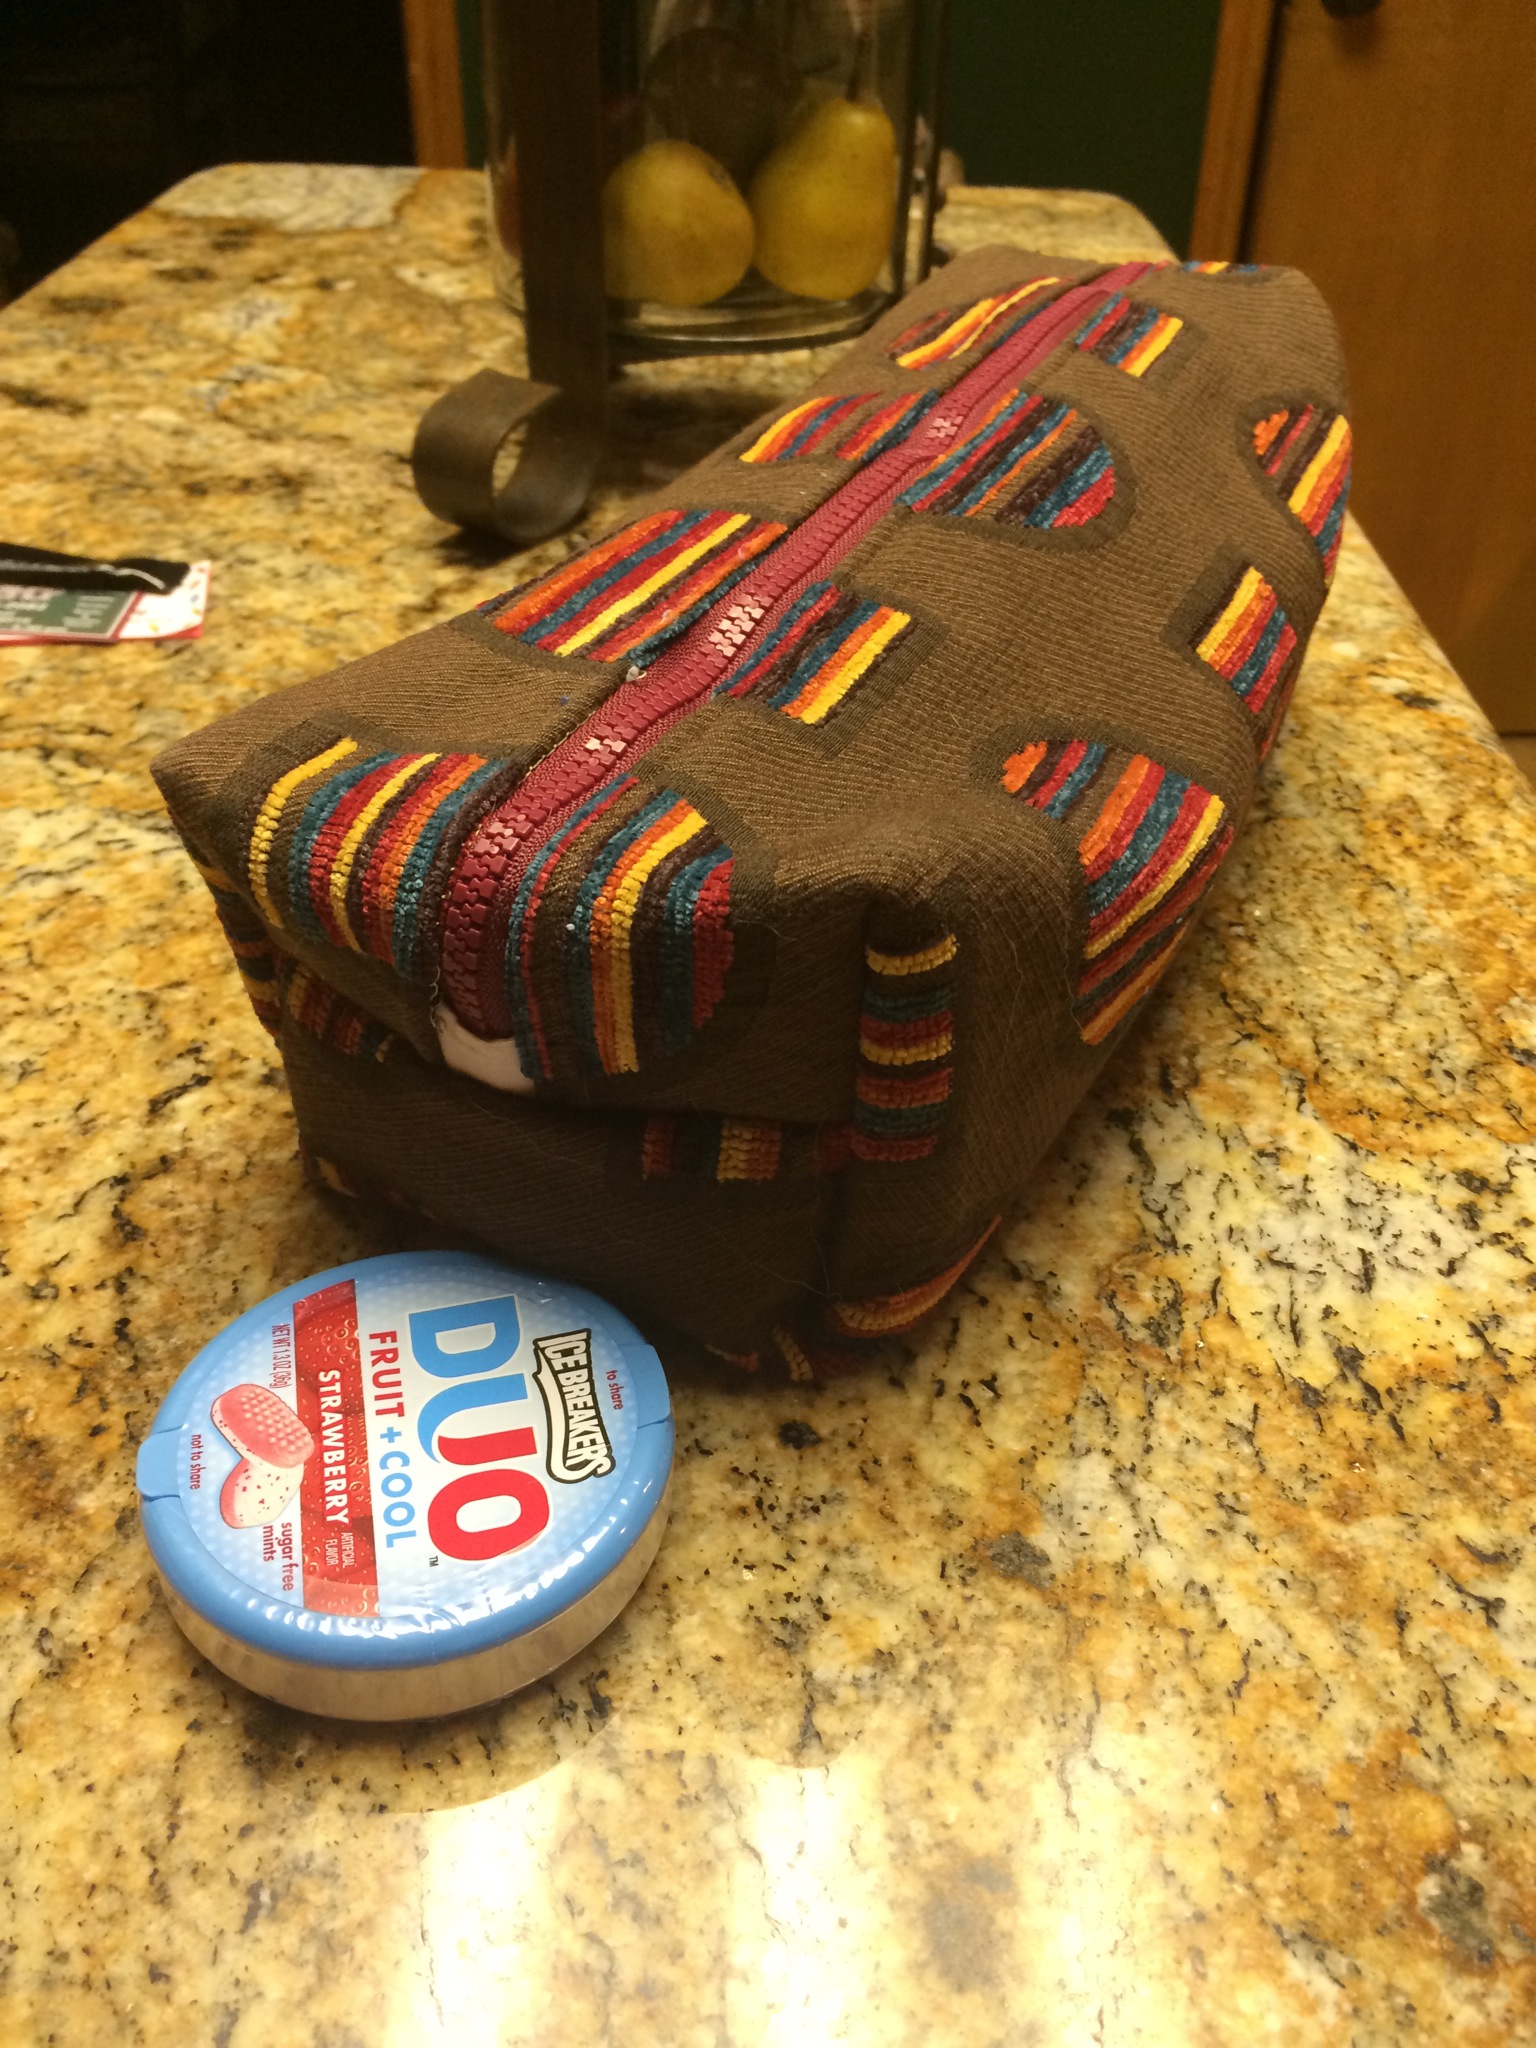
I asked Carol to pick out three and I also picked out a few. Today, I decided to do “something” with them. I decided to make a useful gift for Carol.
She liked a brown plush fabric with modern colored striped circles on it.
I saw a free pattern on studio Kat Designs that looked really useful. I didn’t use the dimensions as I chose to use the sample fabric without cutting it up. But I did use the instructions. And, I added a few treats for Carol. Which I received as a giveaway from a new shop in Lytle, Texas, named Pyron’s
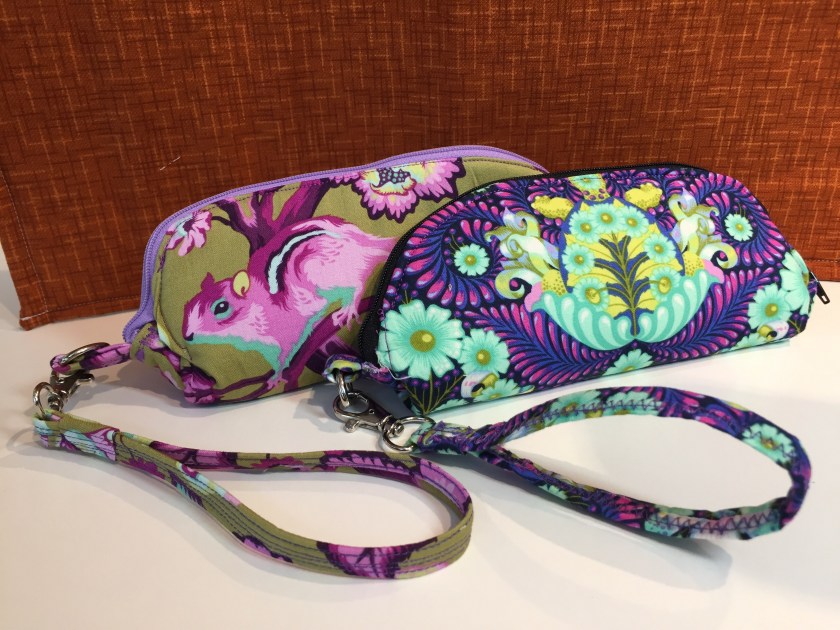
Buying the silk because it was so lovely before I was entirely sure how to work with it meant that it sat around for a long time. The quilting store in Kerrville Texas sold it to me and a lovely lady told me how to stabilize it. She also told me to treat it just like I wanted to before I sewed it together. She said “get it wet before you sew it”. Well I did, I washed it even. Then I tested it. It’s true that if you do this, the silk won’t spot later if it gets wet. I used woolite to wash it. I abused it, put it in my front loader on delicate. However I didn’t dry it, I did hang and air dry it. I ironed it. And then I stabilized it and sewed all over it. Without stabilizing it would have been a nightmare. But the stabilizer kept it from unraveling that much. This is a Christmas present for my Aunt and my Mom volunteered to bind it. She did a great job with the dupioni strips I cut for her. The binding wasn’t stabilized but I did press it with Best Press to make it stiff and hold together some to prevent raveling. And, yes, I used steam. I also found a blog where a lady advised for silk to do a double French fold binding and to NOT press the fold in the binding at all. That is what we did. I think myself and my Mom will do it this way for all fabrics in the future. It came out beautiful and was so easy to fit and to miter.