Longarm Lesson – Backing Too Short

Stuck with a quilt back that is too short? This is how I solved the quilt backing too small but already mostly quilted on my longarm problem.

One late afternoon, the machine was humming along and everything was going really well. I’d already finished two charity quilts. Everything was perfect, I had enough backing provided in the quilt packages and I was racing through the third charity quilt I’d promised to do. Suddenly, disaster struck!

Oh NO!

Always measure your backing or you will be sorry.
Moral of this photo: Measure your backing even if a customer has always given you enough. Always measure!

Oh NO! NO! NO! NO! The quilt backing provided was too short! I literally slapped myself up side the head. How many times had I admonished new longarmers to measure everything provided before you even put a quilt on your machine?! How many times!?!

GEEZ! NOW WHAT DO I DO!?

I called my friend Carol and put on my thinking cap. After sitting and pondering together for a bit and after a refreshing glass of _______. (iced tea?) I had an epiphany. I could solve this without taking the quilt off the machine, without having to go through the agony of getting it straight again, without having to take the several hours it seemed this disaster would need.

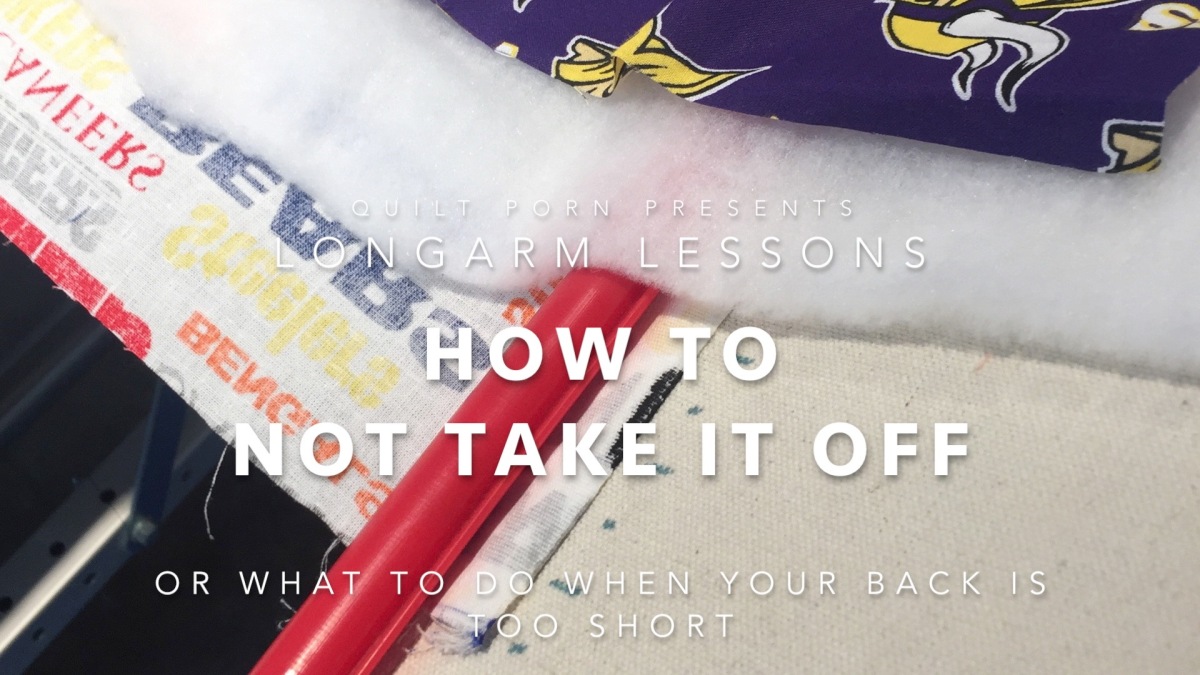
The solution turned out to be hilarious and my friend Carol took a video. The simple solution was to take off just the bottom of the quilt and leave the top attached.

I had a tea cart that set a small sewing machine on and just sewed a strip onto the bottom of the backing. It was a quick and easy matter to just re-attach the bottom and quilt on. Watch how I did it.

Creativity and Mess, Each has a Purpose

I am often very messy in my creative process. Overtime, I found I am most creative when I just go with the flow. I can’t create or get new ideas without some mess and clutter. But there comes a time in each project when my mess is too much and I am not able to proceed. This always happens when it is time to do what I call the finishing processes, the freemotion quilting, the binding, the mounting or putting on of a hanging sleeve. When I get “stuck”  I have to pick up my work area. 

A scientist just “figured me out ” ! Her paper explains both of my behaviors. She established that “disorderly environments seem to inspire breaking free of tradition, which can produce fresh insights,” and that explains the first half when I am being creative. 

Her second conclusion that “Orderly environments, in contrast, encourage convention and playing it safe, ” makes sense too. When I get to the conventional part of my process, making it actually into a quilt, I need some order in my environment. 

So I celebrate my mess! It is what makes my work mine. And I celebrate my order, It is what helps others to understand my work.

Read about Kathleen Vohs’ Study here

Complementary Improv Quilt named Earth, Wind, and Fire

My goal was to do a complementary colored quilt as an exercise in my exploration of the CMYK color wheel. I also challenged myself to pick the ugliest fabric I owned as a starting point.

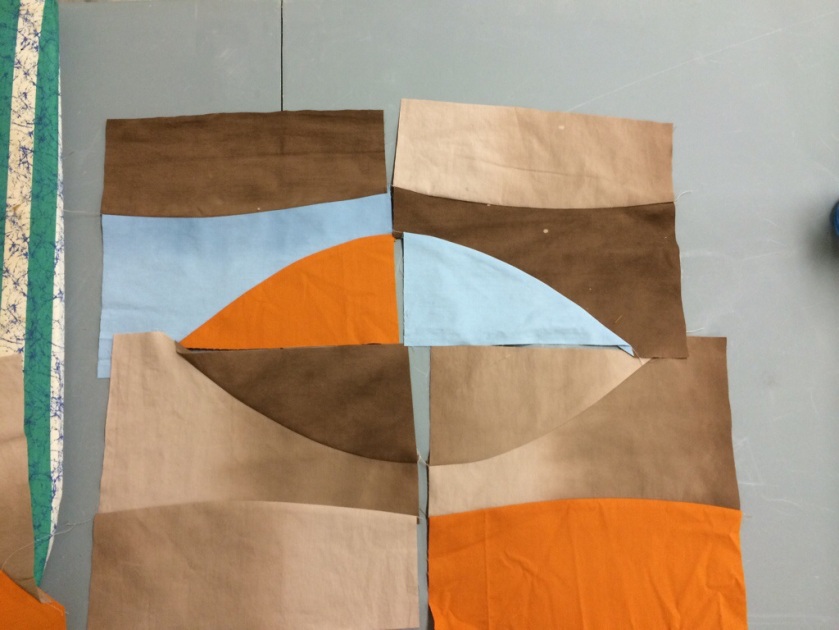
I chose a ombre brown that looked like mud. I bought this on sale a couple of years ago and it never inspired me. I realized that I had a matching ombre blue that worked for a complementary color scheme. Initially I made about 30 blocks that were improvisational created by stacking two squares to five and cutting a curve through all them. I didn’t worry if the fabric shifted, I just used a rotary cutter to slice through all of it. Then I randomly shuffled the pieces and sewed them back together. It did not take long to realize how sleepy this soft brown and blue color scheme made me. It really needed something more. I pulled out Joen Wolfrom‘s color poster and realized that I had an orange that was actually the same color as the brown, just a different value. Wolfram is really changing how I think about color. It’s all about value. Thinking in value really simplifies things.

Bright orange is a very powerful color and in the case of this muted soft blue and brown scheme, it became very powerful indeed. Small doses were in order. I stacked up a few of the blue/brown blocks that had larger areas of contiguous fabric section and layered in an orange square and did my same improvisational curve cutting and piecing. I also sorted through my blocks and found several that were not large enough to allow me to easily square up all the blocks to maximize the sizes I could make. So I tacked some orange onto the edges of these smaller blocks to grow them. I am actually really pleased with these blocks. The fabric that I did not like, now looks like suede and the bits of orange really shape the path the eye travels over the quilt top. It reminds me of a kayaking trip with water, mud and flames.

I really need to put up a large design wall to layout all these blocks. It will have to wait for a retreat or something. I also have not decided if I will sash them like in the three row image or if I will just sew them edge to edge. I’m sure it will come to me at some point.

logo

I’m tired of geometry in modern quilts

The more I see modern quilt guild type
quilts, the more I like many of them. I like how the actual quilting can create a sense of motion if it’s thought out. I like the quilts that make me think or that make statements even if I don’t like the actual statement they are making. The idea that fabric can evoke emotions is really cool.

However, I am getting tired of rectangles and squares. So many of them look alike. I had a thought a few days ago about how I was tired of geometric patterns and that free form flowing shapes are really interesting to me right now.

So I’m taking three simple fabrics and am going to see what I can do with them. The first two are bland ombré hand dyes in ashy blue and tan. The third fabric is burnt orange that actually is in the same shade as the tan just not diluted w grey like the tan. I’m challenging myself here. Not a single one of my beloved batiks in sight, and a lot of improv free cutting is going to happen. I plan on keeping the geometry to a kind of minimum.
20140521-180738-65258128.jpg

Couching closeups

I wish i remembered whose blog I saw an example of this technique on… I read about it and tried it during some design exploration exercises. Basically you use a very near color to create a feeling of motion and or depth. I used a slightly lighter blue and a slightly paler yellow for the swoop of air across the top. The batting has been added at this point too. It’ll help hold any Hans stitching I’m gonna do.

20130615-044059.jpg

20130615-044129.jpg

20130615-044146.jpg

Deciding colors

trying to decide on colors, I used my ipad to try out some things.

I took a picture of the freezer paper drawing with my ipad. Then I tried out some ideas by coloring in the sketch on my ipad. I liked the look of this one and decided that I’d go with it, if I had the fabrics for it in my stash.

Improving on the idea

A more developed sketch of my landscape for the window
A more developed sketch of my landscape for the window including the window frame.

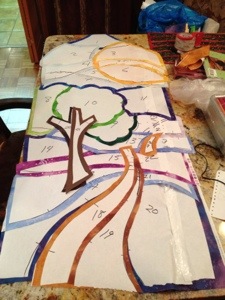
The middle of the night sketch was really rough, but it was enough to remind me of my thought image. So I improved upon it. I drew this on freezer paper. The kind of freezer paper that is plastic on one side and rough bright white paper on the other. I like the size of the freezer paper and I can tear off as short or long a piece as I want. Plus it’s great for foundation paper peicing. I use it to cover countertops to keep them clean from wet messes. Truly freezer paper is probably the most versatile tool for any kind of crafter or artist. And it’s pretty cheap too!

art, quilt, landscape, teacher, inspiration, howto
Dream Landscapes by Rose Hughes made it possible to bring my idea to reality.

About the same time I drew this idea out, I found a book which really lit up my world. The book was Rose Hughe’s Dream Landscape book about art quilts and her methods. I thought it was the perfect thing to try to make my idea a reality. I modified my sketch and also made a copy of it at full size to match the exact size of the window based on her book.

Inspiration strikes in the middle of the night

quilt, art, inspiration, tree, landscape
Inspiration struck in the middle of the night

I had procrastinated with that window and had it in a closet. About a week before this ‘sketching moment’ I had finally hung that window frame up. Now I had to look at it several times a day since it was stationed right above the loo.

In the middle of the night I often wake from a dream and think I’d like to remember it. Sometimes ideas are so strong that I can’t really get back to sleep sometimes. Sometimes the ideas that wake me are solutions to difficult technical problems I was wrestling with during the previous day. My subconscious often solved problems while I slept. So, years ago, I started keeping a notepad by the bed to write them down. I found it’s much easier to get back to sleep this way. I don’t worry that I might ‘forget’ before morning if I fall asleep again.

My husband and I had been talking about our wedding under a large oak tree before sleeping that night. This simple sketch was an idea that struck me for the window on the wall in the wee hours of the next morning.