
My Grammy’s wooden stool holds a lot of memories for me. I remember sitting inside the legs pretending it was a house, a fort, a jail, a treehouse and a dozen other wonderful hideouts. Grammy would pretend she couldn’t see me when I was under that wonderful old stool. I’m sure it was a great play toy for my cousins too. I remember the day I could no longer fit inside the legs of the stool. Grammy laughed and laughed until I started laughing too. We both had tears streaming from our eyes. Those were great times.
That stool moved with Grammy from home to home until she moved in with my parents. She gave me many of her things as I was a young adult and starting out on my own. The stool was one of them. And through my own moves and life changes I have kept that old stool. I’ve used it in all my kitchens just like Grammy did. At 50 plus years old, the stool finally started having issues with staying together. The hard oak wood is still sound, but the joints, just like my own, are a little loose and the legs and cross pieces would come out of their joints. Glueing helped temporarily but within months the joints would come apart again. I want to continue to use the stool. What to do?
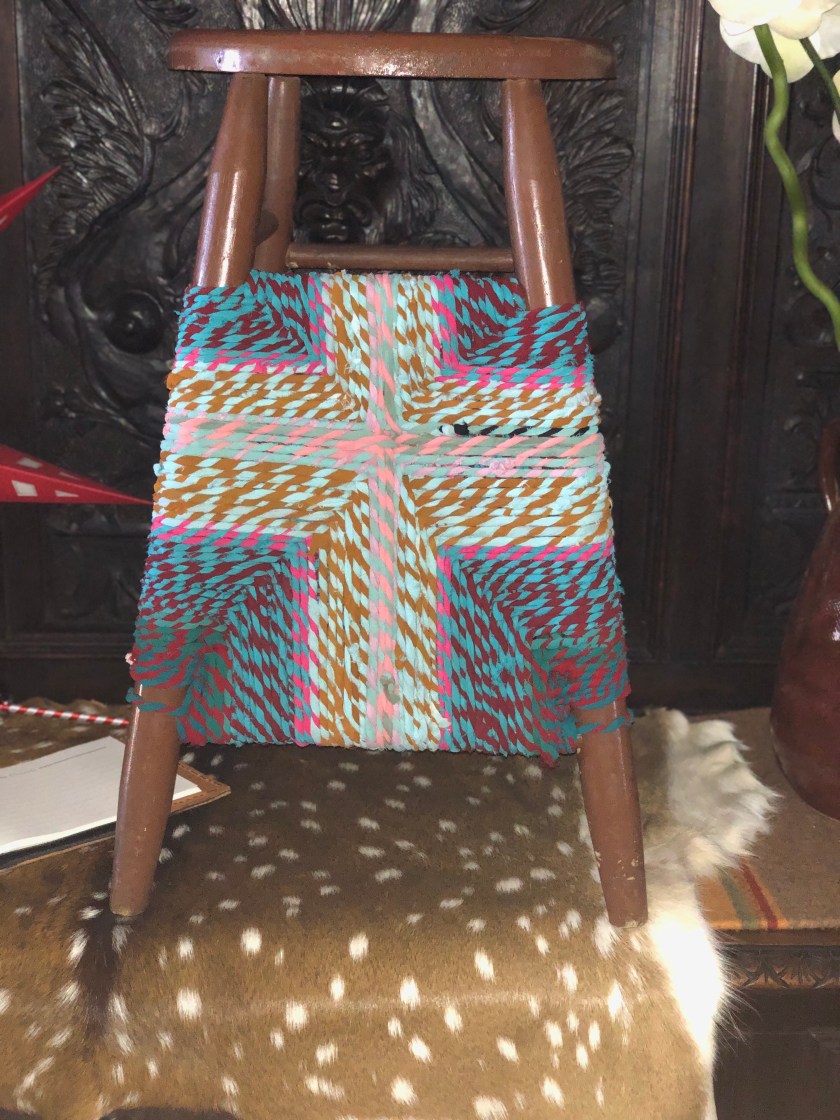
I took string and wound it around the base of the legs to keep pressure towards the center and the stool stayed together. So, like me, that old stool just needed a little help. The string wasn’t very pretty.
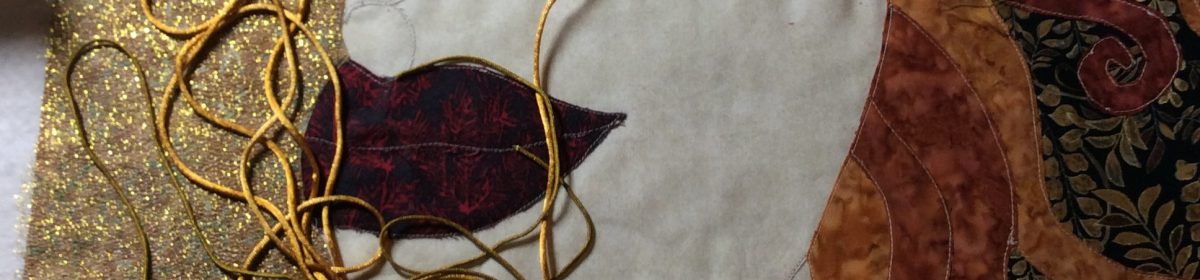
I was shopping at the Antiques Week in Texas and north of Roundtop I found a place selling upcycled useful things. I bought some giant balls. Long strips of cut up sari’s double plied and made into beautiful colorful balls of twine or yarn. The balls could be used for decor or for crafting. I wanted to use the twine for Christmas wrapping. I didn’t and the balls have been sitting in a kettle by my fireplace.
That sari cord! Yes, the perfect thing to use on the stool. After securing the base I spent three evenings trying to figure out how to wind and secure all four side at the same time. I needed to create inward pressure on the legs in order to keep the stool together.
I did figure out a way to do that, but felt that I couldn’t continue the pattern until the legs were completely covered. I did decide to go ahead and cover the legs completely. I also figured out how those rush seated chairs are woven in the process.
I’m not finished with the stool yet. But I have one side done. I think it looks I interesting and it will definitely give this chair another few decades of use.