What to do with an old stool?

My Grammy’s wooden stool holds a lot of memories for me. I remember sitting inside the legs pretending it was a house, a fort, a jail, a treehouse and a dozen other wonderful hideouts. Grammy would pretend she couldn’t see me when I was under that wonderful old stool. I’m sure it was a great play toy for my cousins too. I remember the day I could no longer fit inside the legs of the stool. Grammy laughed and laughed until I started laughing too. We both had tears streaming from our eyes. Those were great times.

That stool moved with Grammy from home to home until she moved in with my parents. She gave me many of her things as I was a young adult and starting out on my own. The stool was one of them. And through my own moves and life changes I have kept that old stool. I’ve used it in all my kitchens just like Grammy did. At 50 plus years old, the stool finally started having issues with staying together. The hard oak wood is still sound, but the joints, just like my own, are a little loose and the legs and cross pieces would come out of their joints. Glueing helped temporarily but within months the joints would come apart again. I want to continue to use the stool. What to do?

I took string and wound it around the base of the legs to keep pressure towards the center and the stool stayed together. So, like me, that old stool just needed a little help. The string wasn’t very pretty.

I was shopping at the Antiques Week in Texas and north of Roundtop I found a place selling upcycled useful things. I bought some giant balls. Long strips of cut up sari’s double plied and made into beautiful colorful balls of twine or yarn. The balls could be used for decor or for crafting. I wanted to use the twine for Christmas wrapping. I didn’t and the balls have been sitting in a kettle by my fireplace.

That sari cord! Yes, the perfect thing to use on the stool. After securing the base I spent three evenings trying to figure out how to wind and secure all four side at the same time. I needed to create inward pressure on the legs in order to keep the stool together.

I did figure out a way to do that, but felt that I couldn’t continue the pattern until the legs were completely covered. I did decide to go ahead and cover the legs completely. I also figured out how those rush seated chairs are woven in the process.

I’m not finished with the stool yet. But I have one side done. I think it looks I interesting and it will definitely give this chair another few decades of use.

1880-1900 Linen, Hemp, Cotton Textile Cleaning

Finding a huge lot of old unused and well used textiles was probably my score of the year. These poor things had been in some European abandoned attic for a hundred years. Talk about dirty! They are tough though. A hundred years of roof leaks, rodent piss, and who know what else hasn’t done much to this wonderful stuff besides make it ugly and smelly. It is still intact, still sturdy and usable. I am trying different cleaning tactics and have abandoned the washing machine with agitator for the coarser hand woven items.

Several soakings in sodium mono carbonate for two to four days is really getting the years of crap off the textiles. I plan to follow up with a final wash with some actual laundry soap to ensure the animal leavings are completely gone.

These fabrics are destined for pillows, table runners and art projects. Maybe I’ll make an apron using leather harness straps too. I have a design in mind reminiscent of an old blacksmiths apron.

Grain sacks and antique toweling first soaking in cleaning solution.Antique grain sacks and linen flax and hemp textiles submerged for cleaning

Dye Class at Houston Quilt Show 2017

I took a gradations dying class from Cindy Lohbeck. Her class was all about creating color value. I have been learning a lot this past year about value which is basically lightness or darkness of colors. In Cindy’s class we used dilutions just like I did in chemistry class back in college. We made six values from light to dark of seven different colors. It was awesome to make 42 fat quarters of these rich colors. It is something that I am going to keep in mind when I dye in the future.

Creativity and Mess, Each has a Purpose

I am often very messy in my creative process. Overtime, I found I am most creative when I just go with the flow. I can’t create or get new ideas without some mess and clutter. But there comes a time in each project when my mess is too much and I am not able to proceed. This always happens when it is time to do what I call the finishing processes, the freemotion quilting, the binding, the mounting or putting on of a hanging sleeve. When I get “stuck”  I have to pick up my work area. 

A scientist just “figured me out ” ! Her paper explains both of my behaviors. She established that “disorderly environments seem to inspire breaking free of tradition, which can produce fresh insights,” and that explains the first half when I am being creative. 

Her second conclusion that “Orderly environments, in contrast, encourage convention and playing it safe, ” makes sense too. When I get to the conventional part of my process, making it actually into a quilt, I need some order in my environment. 

So I celebrate my mess! It is what makes my work mine. And I celebrate my order, It is what helps others to understand my work.

Read about Kathleen Vohs’ Study here

There Is A Philosophy of Monoprinting?

Glad I asked me that…

There is serendipity and a leap of faith in the act of monoprinting. Faith is something we all need more of.

Most printmaking is all about making hundreds or thousands of copies of something all the same. Mono printing isn’t like that at all. The genius of monoprinting is that it is a one shot deal. Every print you make will differ.

In mono printing, you spread paint on a surface and transfer it to another surface. You can manipulate the paint in-between if you wish. You can manipulate the surface you put the paint on and you can manipulate the surfaces you press onto the paint. But you can never identically reproduce the exact same chaotic placement of every bit of paint. You can make things similar, but never identical. So you can make coordinating prints that look really good together for triptychs or series of art objects.

All that similar but different concept attracts me to it. Kinda like how I am attracted to people. I love that people are different. If we all were the same and had all the same ideas, and all the same way of doing things, the world would be a really boring place. Monoprinting also appeals to the scientist in me. One of my favorite classes had a section on chaos theory and how organization comes from disorganization. Monoprinting is a bit like that.

You could put paint right on the fabric but it just won’t look the same as monoprinting. You would lose that bit of specialness that monoprinting imparts. There is a spontaneity that we should all have in life and monoprinting is a kind of physical evidence of how a little chaos results in something wonderful.

Monoprinting can also change a fabric, it can tone down one that is too wild or it can add energy and interest to a fabric that is dull or boring. Sometimes a little dab of paint will do it. Same with people, animals, and things. All our experiences rub off on us and change us a little bit. Every encounter we have changes us a bit, every encounter changes the fabric. The more I think about it… there is a philosophy we can learn from monoprinting.

Once I get out of my introspective mood, I’ll write up another post about my low budget monoprinting presentation soon.

Lumi dyes are intriguing!

Do you know you can use airbrush paints to pseudo dye fabric. You can heat set them after they dry and they are wonderfully permanent. Also, I use Derwent Inktense pencils and blocks to dye and paint fabric. They also become permanent after drying and can be heat set too. Which leads to some really interesting effects if you layer on colors while drying and heat setting in between rounds. And, I’ve been pondering the idea of getting into real dying with chemicals and vats and all that. I haven’t made that leap into yet another big mess yet. Then I saw a new thing when I was wandering around the art store. Lumi. Lumi dyes are photo sensitive.

With regular paints and dyes you can get a big of a photosensitive effect due to unequal drying and wicking of moisture through fabric and some paints and dyes are somewhat photosensitive. However this Lumi dye is like doing old-fashioned photo printing on fabric instead of photo paper. 

You spread the stuff on the fabric, put a printed transparency (your photo negative) on top, lay the stuff in the sun for 10-20 minutes (or maybe 30 on a cloudy day) and wa-la! You have a mono print. 

Today I”m trying a photo transparency, laying objects on the Lumi coated fabric, and printing using the Lumi inks. 

You can also layer different colors of Lumi dyes. Print and rinse. Dry and printing again. You can get some really interesting effects this way.

My Insights on Color Theory and Why CMYK Rules my Universe.

CMYK rules my art world. And, it should rule yours. I have known about and used both RGB (red, green, blue) and CMYK (Cyan, Magenta, Yellow, K (I’ll explain the K later) for years. But I really didn’t understand them until now. I thought CMYK just was something printers had to do because of the inks they used.. and I was kinda right, but mostly wrong. It had to so with the inks, the paper, the coatings, the …well.. the everything.

I’m taking a class is all about CMYK and why it is better than RGB for my art. RGB is what we learned in elementary school only because it is easy to show. RGB is for transmitted light. RGB is about adding colored light together to create. Starting from nothing, the absence of light, adding light of specific colors until you reach your desired outcome.

CMYK is about starting with white light and subtracting colors until you reach your desired outcome. CMYK is for light-absorbing color processes. Quilts, fabric, paints and inks are ‘colored’ by all reflected light. But it is light passed through light-absorbing pigments in the form of ink, paint, dyes, and more. A CMYK color wheel will really help you get the best results when using these mediums. C-Cyan, M-Magenta, Y-Yellow, K- key (the key or color plate is used in printing to determine the lightness or darkness of the CMY). They don’t mention the K part in the class specifically, but they do talk a lot about it. Every time they are talking about tint, shade, or tone.. they are teaching us about the K part of CMYK color theory.

We were all short-changed in K-12 when it came to color theory unless you had a really rocking art teacher who had lots of time. If you took drama classes you necessarily taught RGB. Theater uses light and lots of it. Theater uses light passed through gels (transparent colored films) to “color” the light. RGB is all about transmitted light. It’s really easy to show RGB color theory and limited budgets meant most schools taught RGB theory. A few colored gels, a source of white light and, wa-la, you had an easy quick demonstration on RGM. Lightness or darkness in RGB is controlled by the amount of light you allow to shine through. 

CMYK. Now that is the true beast we need to learn for doing art (that isn’t working directly with manipulating the light itself). In CMYK, the lightness or darkness is a result of two things. 1) the pigment itself and how a human perceives it. and 2) the amount of white or black mixed into the pigment). Number 2 is a very different animal than just dimming or turning up the electric current in a light. Human perception is obvious for those of us who can see. For example, Yellow is ‘lighter’ in perception than Purple. 

In CMYK color theory, color passes through the pigments/dye/ink on the paper (they absorb some color) then reflects off of whatever surface is under the pigments and back through the light absorbing pigments before going to your eye. So you can think of CMYK as subtractive. Color is subtracted (absorbed) or removed from the light bouncing off the background behind the pigments laying on the surface. It is also affected by the background surface. And, it is subtracted (absorbed) again when the light passes back up through the pigment back to your eye. The background plays a huge role in all this. Traditionally the background is white, white canvas, white fabric, white paper, white gesso, etc.

In CMYK you can create black by mixing all the colors together. In practice, this actually end up looking like a dark mess. That is because it is really hard in nature to find 100% pure colors, or to even create them out of things we find on earth. Everything we create is slightly tainted. So actually finding three pure CMY colors and mixing them exactly has astronomical odds against it happening. Also laying on enough pigment to absorb all the light is a requirement. This could end up looking like a thick scab. This can get really nasty if you ask me. So printers and artists for thousands of years have “cheated” by making black pigments. Actually they are just made of things that are really dense and absorb a lot of light like coal. Anyway, using black pigment with the three subtractive primary colors allows wonderful things to happen. It’s why your inkjet printer today uses at least four inks, Cyan, Magenta, Yellow and Black is used for the key). Black is used when the muddier combo color of the CMY isn’t desired. To get a really rich black, printers will often mix a layer of CMY with a layer of black over it. Newer printers often have a “Photo” black cartridge. This is actually CMY and Black inks together. No biggie.. it just works.

To get lighter ‘colors, you just use less pigment so less absorption of light occurs. This isn’t always practical either. Our eyes are super sensitive detectors. We would have to grind down the pigments to itsy bitsy teensy weensy bits and sometimes we can’t grind them down enough. We’d also have to evenly and at regular spacing spread the pigments out at just the right rate to get the color we want. All that is terribly hard. So again, artists have been “cheating” for years by using “white” pigments as a carrier substance to thin out the colors and spread them out. No biggie.. it just works.

Having the K factor is the Key… it allows us to take a pure color and thin it down to make lighter colors or thicken it up (and even add black) to make dark colors. 

You can even include the K factor as your substrate, using a grey or black back ground will allow you to achieve changes without having to even alter your pure color pigments.

All that is nice.. but how does it apply to quilts..

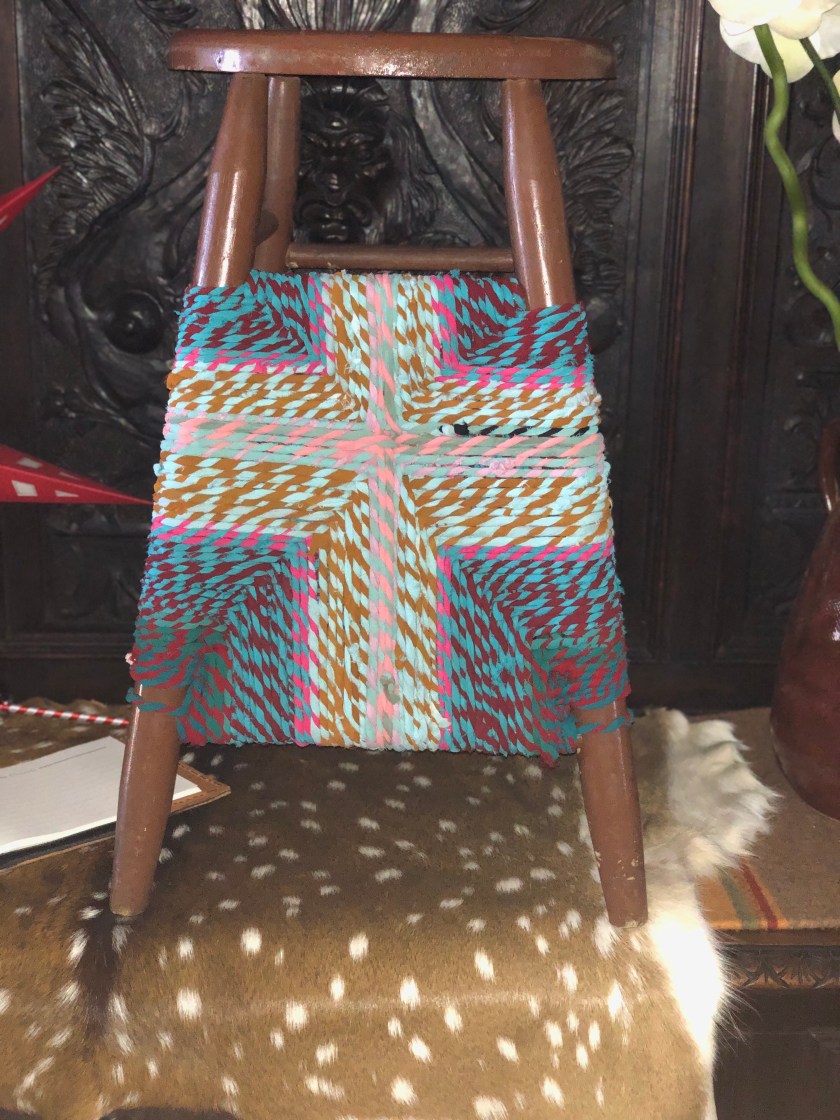
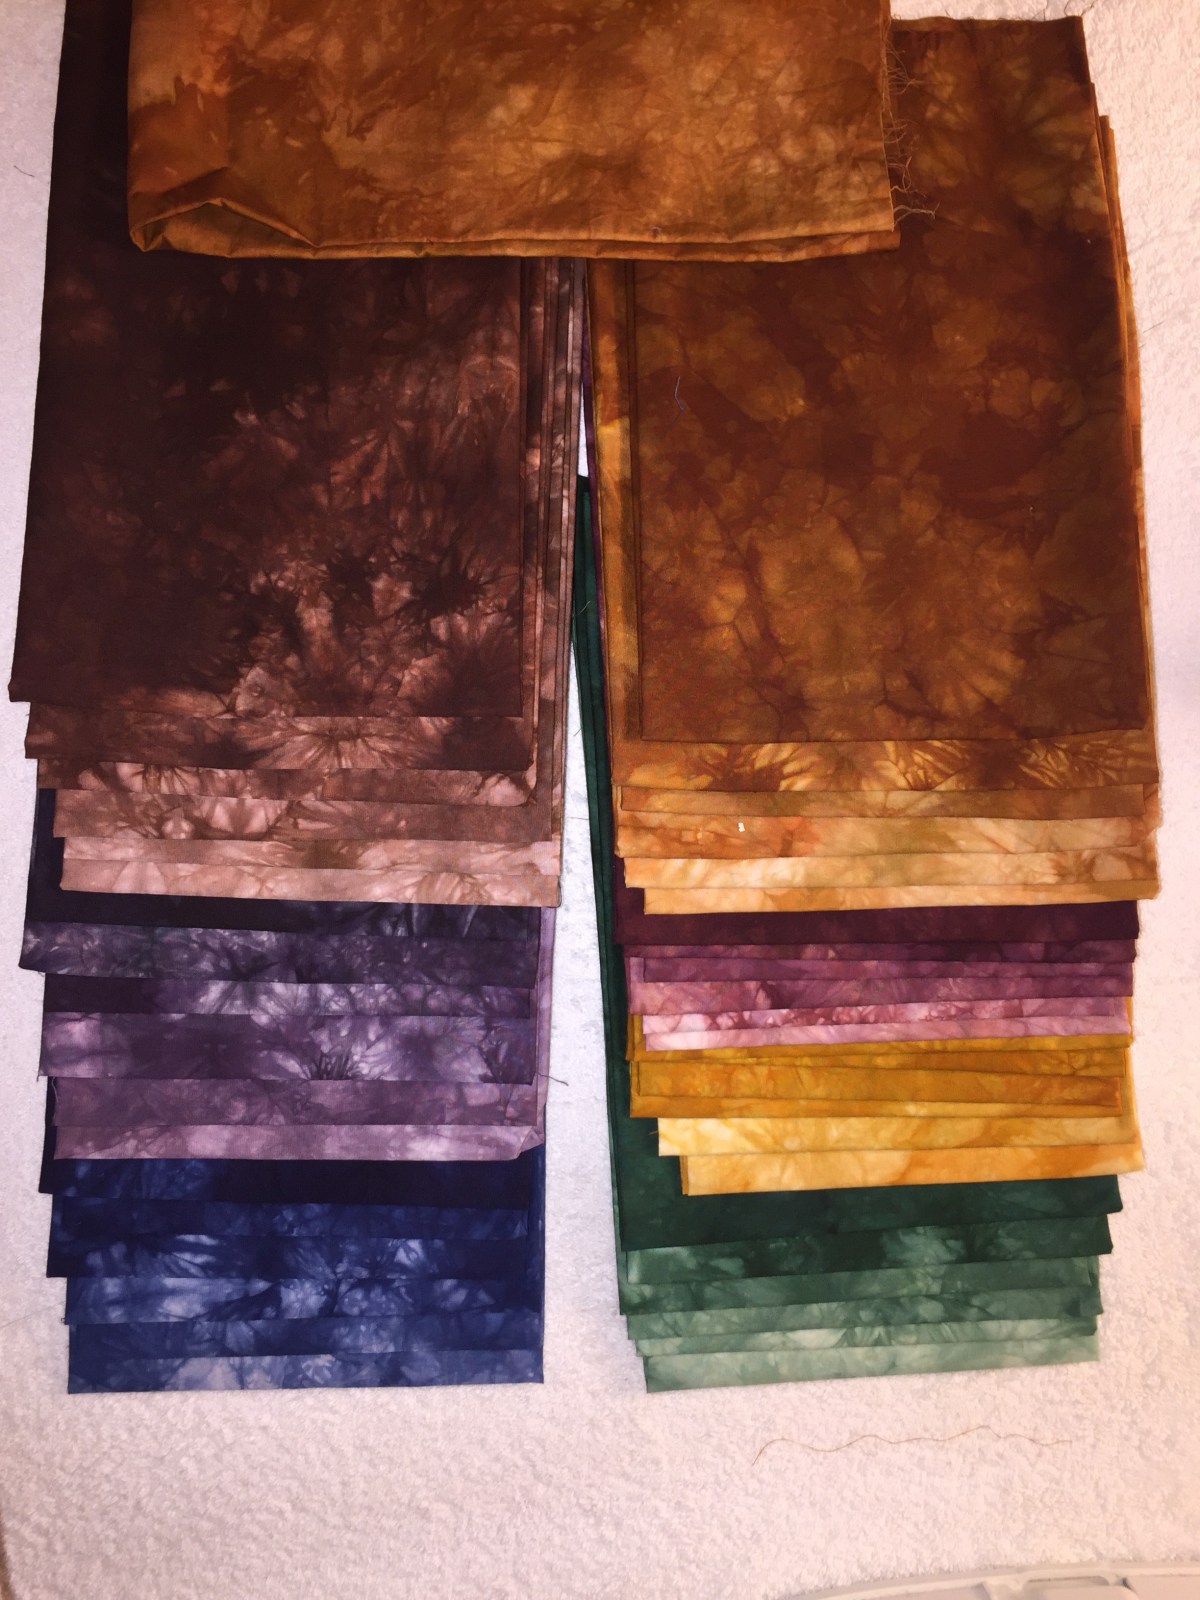
As well as making different color choices now, I think about the K factor (lightness/darkness/value) as much as the color itself. I realized I used to pick all the colors but they usually had the same K factor. So if I made a green and blue quilt (analogous color scheme) I had all light, or all medium colors in terms of  how light/dark they were. Because I am studying CMYK, I think about the K factor (lots of pros call it value or include it in their value definition). So now if I were to do an analogous color scheme quilt, I also make sure I have some light, some dark, some medium mixed up in the actual colors themselves.

Does it work? All I can say is that it does! Try it. If you are used to using a color wheel as a guide to help you choose fabrics for a quilt… Go pick fabrics using a CMYK color wheel, also known as an Ive’s Color Wheel, and watch your once drab color picking skills suddenly become professional. Remember the K factor part of CMYK and You’ll be quilting with the stars.. at least with your color choices. 

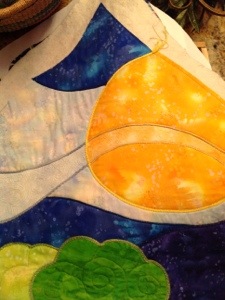
I know people are saying things about my art that they didn’t before.. they are saying things like wow, I love those colors, I didn’t think of putting those together but it really does work well, and more. They never commented about my choices before I made the switch. They do now. And more importantly I think so to. 

Detailed Information about the Free Form Table Runner Class Feb 22, 1014

The Free Form Table Runner class being offered Feb 22, 2014 from 10 am to 2 pm. at the Texas Art League Gallery. Sign up at the Gallery. There will be a break for lunch, you can bring your lunch or some students may wish to work on their project so we arrange for lunch from the Coffee Shop, or perhaps a taco run. Iced tea and water available during the class.

Click here for PDF to
save and download.
TALfiberart-tablerunnerfreeform
For more detailed information, Please click on this image for a pdf you can save and print. This flyer will also be available in the Texas Art League Gallery; and, in the Watermelon Shop next door if the Gallery is closed.

The Gallery has limited hours but is open most afternoons Tuesday – Saturday. They would really appreciate more volunteers who would like docent at the gallery so that it may open more hours of the day.

The Texas Art League Gallery is at at 509 E Davis Street, Luling, Texas 78648.

Hummingbird courtesy of Layne

20130705-023624.jpgMy friend, Layne, posts all kinds of wonderful pictures on her Facebook account. She shared a wonderful hummingbird feeding from a flower last week. I decided today, my first full day off in six weeks that I’d do it up in fabric.

I like how it turned out though there are some things I would redo a little differently. I learn a little from each piece that I create. I would cut my layers of fabric more carefully and closer to,the stitching line. I would also take more time during the couching step. I would also,use a more appropriate foot for my machine. I left my two favorite couching feet at the shop. So, I made do ny using a 3/8 inch rolled hemmer foot instead. It worked great for guiding the yarn and thread, but it would have worked better with fuzzier or thicker yarn.

So, I learned that a hemmer foot will,work for couching. It doesn’t turn corners well. It needs to have its channel filled up. And, I had fun anyway and made a pretty geegaw for my sewing room.

Couching closeups

I wish i remembered whose blog I saw an example of this technique on… I read about it and tried it during some design exploration exercises. Basically you use a very near color to create a feeling of motion and or depth. I used a slightly lighter blue and a slightly paler yellow for the swoop of air across the top. The batting has been added at this point too. It’ll help hold any Hans stitching I’m gonna do.

20130615-044059.jpg

20130615-044129.jpg

20130615-044146.jpg