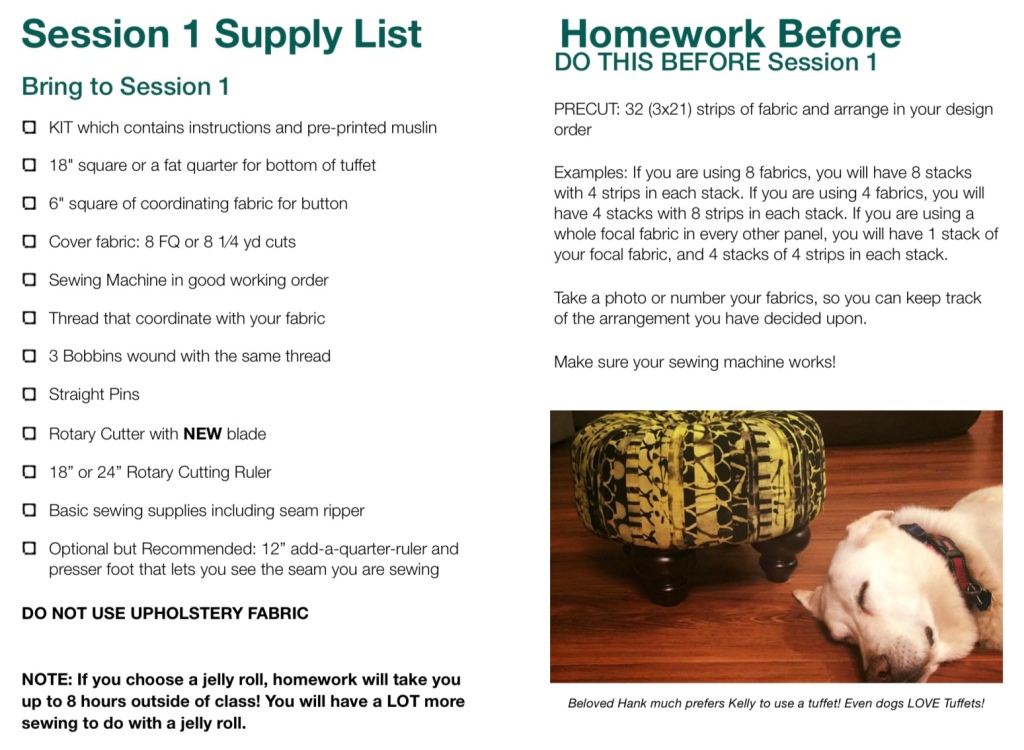
I”m excited to be teaching again. Covid 2020 really put a dent in my life style which included being around other artists and crafters. Holly Dee Quilts is offering my Tuffet Class again and April 10 is the first Session.
There is some homework and here is the Session 1 list of stuff to bring to class and stuff to get done class. We’ve got four hours and a lot to do. If you haven’t cut your strips yet… please do it tonight!
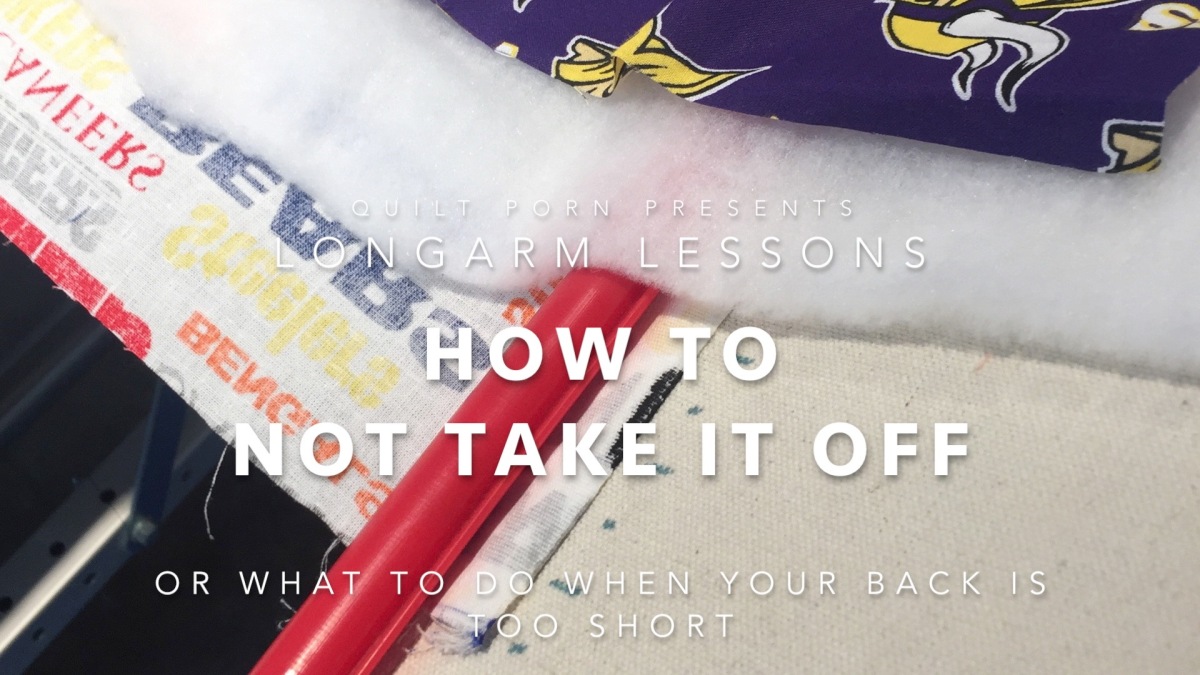
Stuck with a quilt back that is too short? This is how I solved the quilt backing too small but already mostly quilted on my longarm problem.
One late afternoon, the machine was humming along and everything was going really well. I’d already finished two charity quilts. Everything was perfect, I had enough backing provided in the quilt packages and I was racing through the third charity quilt I’d promised to do. Suddenly, disaster struck!
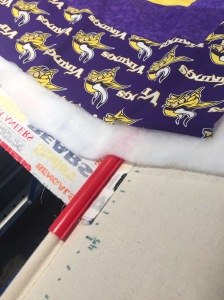
Oh NO!
Moral of this photo: Measure your backing even if a customer has always given you enough. Always measure!
Oh NO! NO! NO! NO! The quilt backing provided was too short! I literally slapped myself up side the head. How many times had I admonished new longarmers to measure everything provided before you even put a quilt on your machine?! How many times!?!
GEEZ! NOW WHAT DO I DO!?
I called my friend Carol and put on my thinking cap. After sitting and pondering together for a bit and after a refreshing glass of _______. (iced tea?) I had an epiphany. I could solve this without taking the quilt off the machine, without having to go through the agony of getting it straight again, without having to take the several hours it seemed this disaster would need.
The solution turned out to be hilarious and my friend Carol took a video. The simple solution was to take off just the bottom of the quilt and leave the top attached.
I had a tea cart that set a small sewing machine on and just sewed a strip onto the bottom of the backing. It was a quick and easy matter to just re-attach the bottom and quilt on. Watch how I did it.
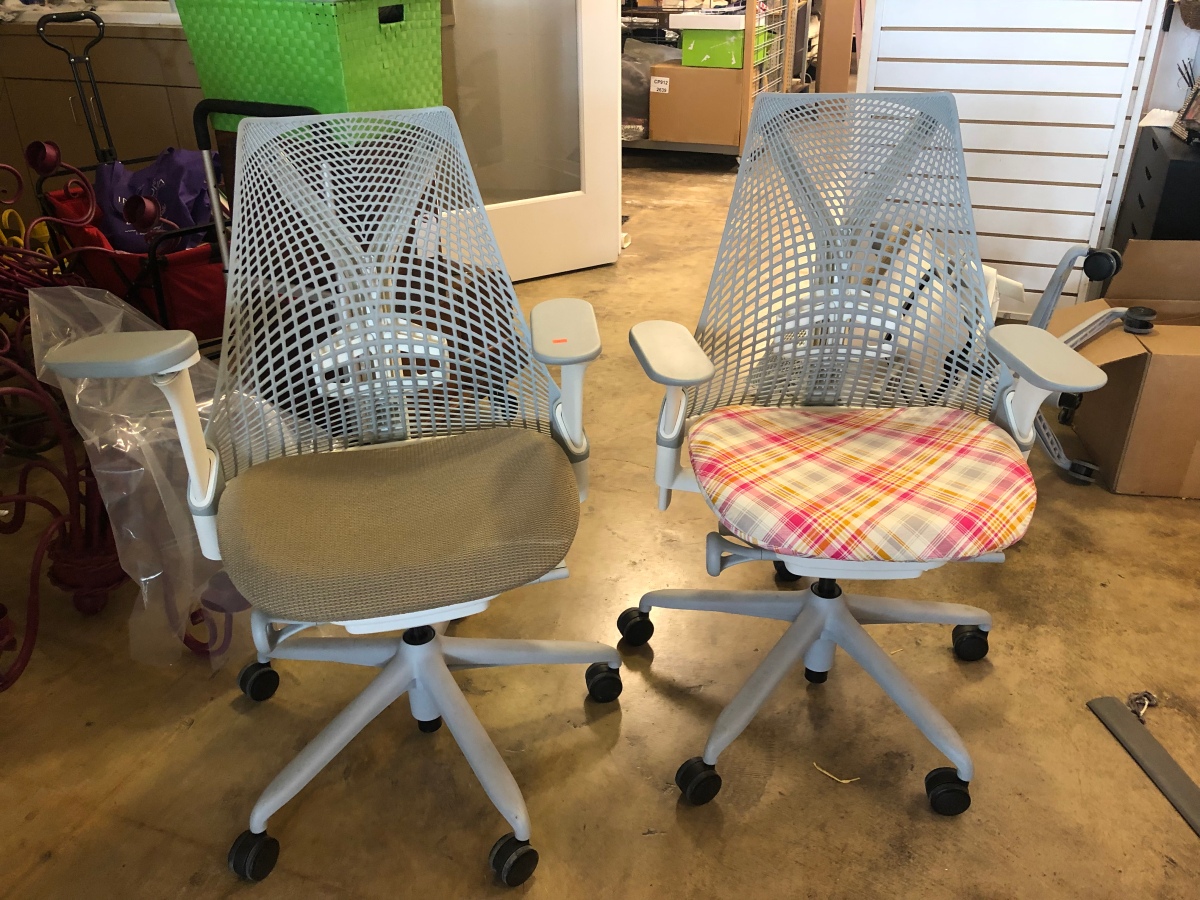
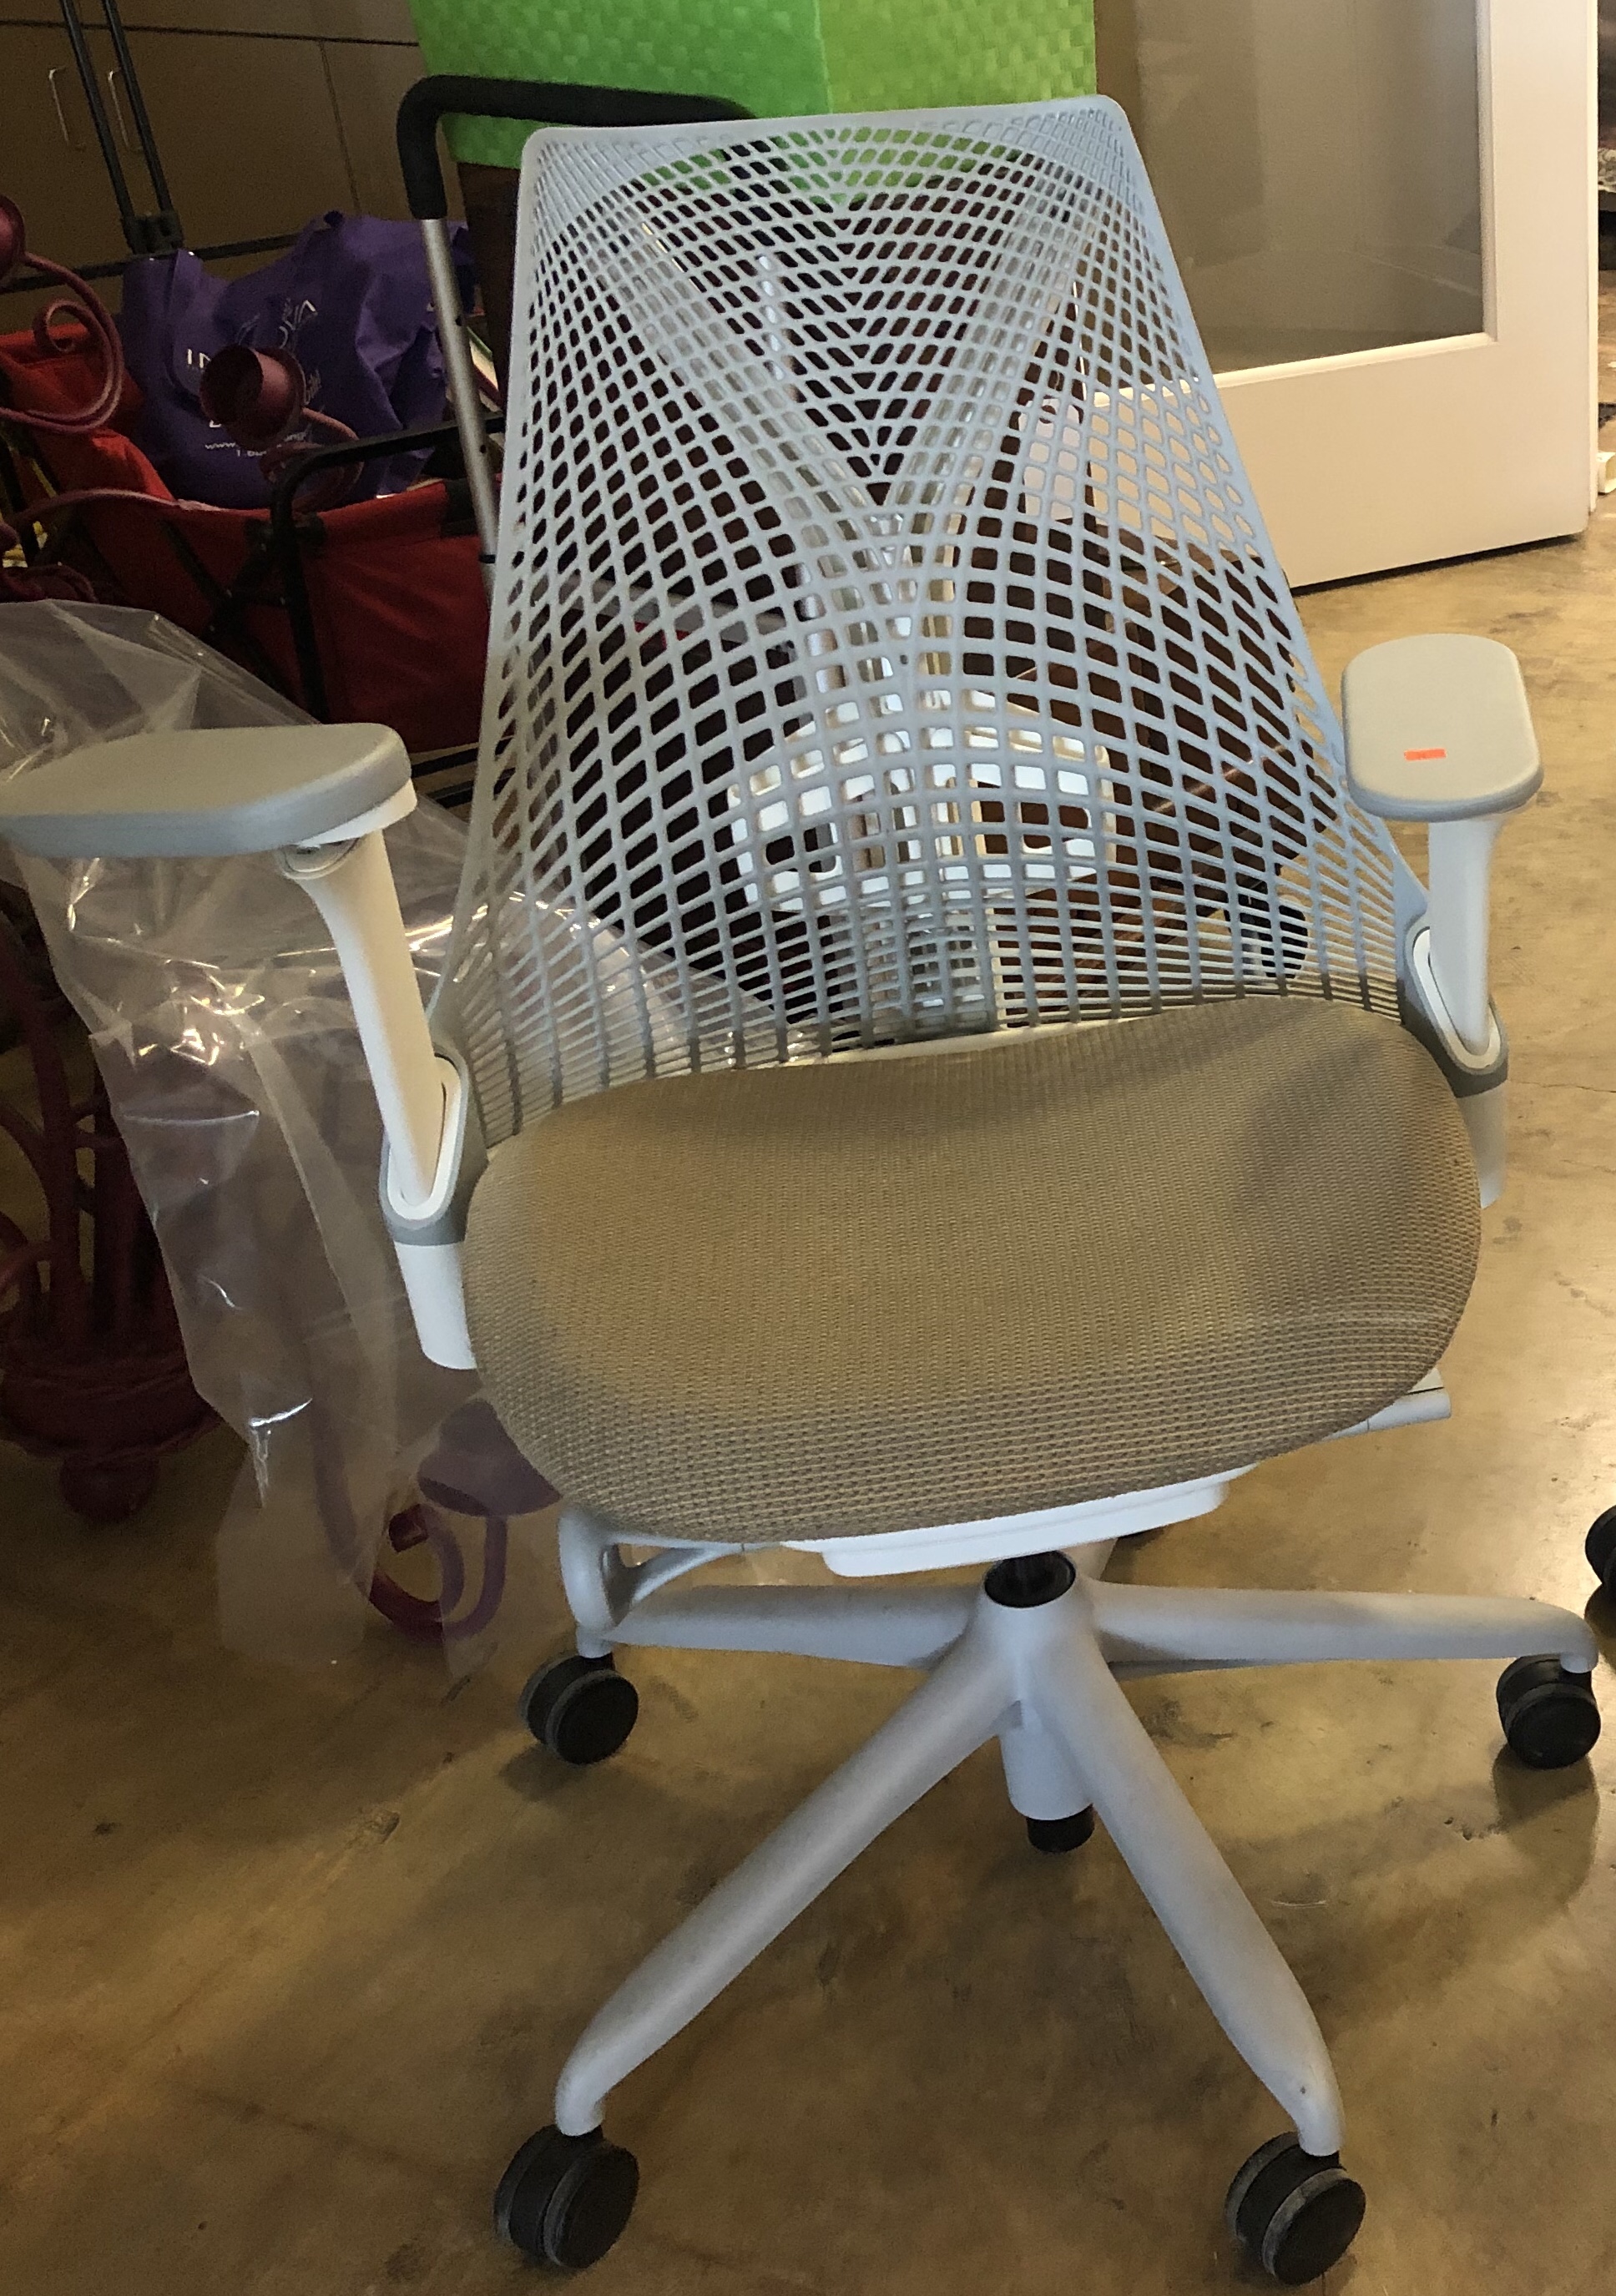
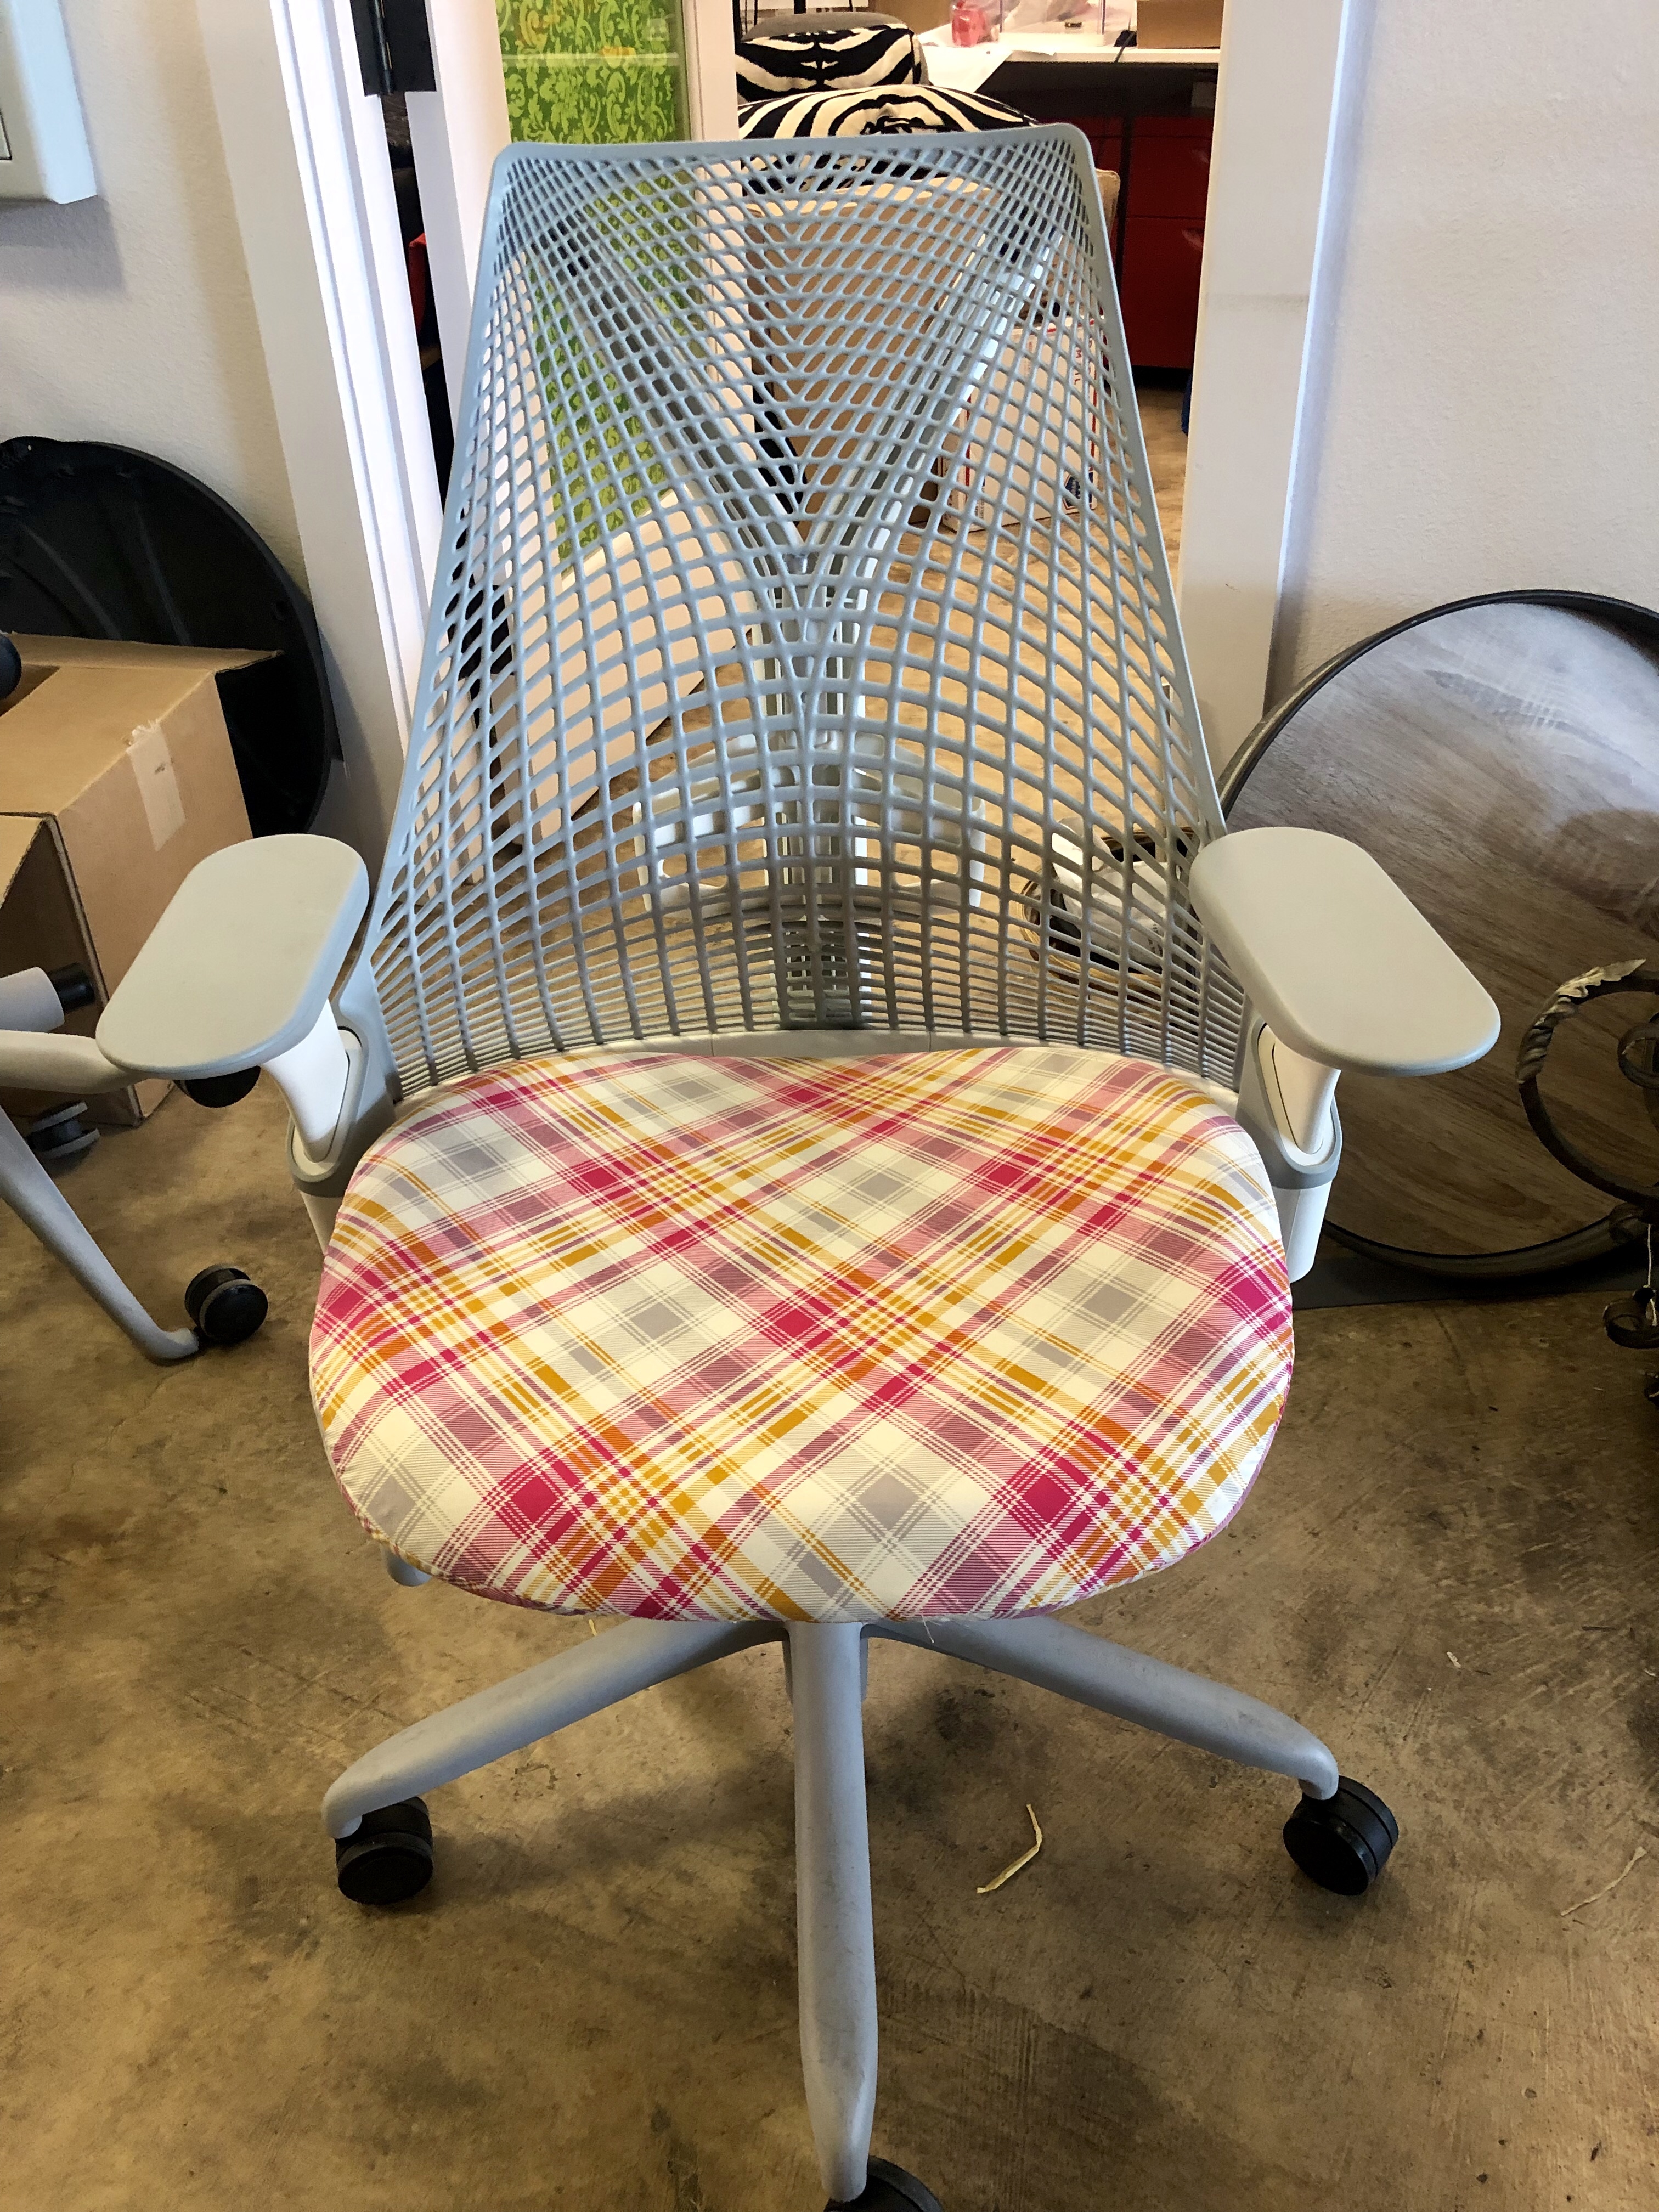
Auctions can be a great place to find inexpensive sewing room luxuries. Take a look at this dirty drab brown worn chair.
These Herman Miller Sayl chairs are comfortable. The arms lower pretty far and will not get in my way when sewing. They have adjustable lumbar support and are curved just right to support my back and hips. Brand new these Sayl chairs including the tilt, height adjustment, lumbar support, and tilt lock brings about a $700 price tag.
First a brisk cleaning with soap and water. Second tightening loose arm rest bolts. Then, a little upholstery fabric in a cheery color perks up that boring chair.
My total cost (not including the tools) for this $700 chair was about $30. Score!
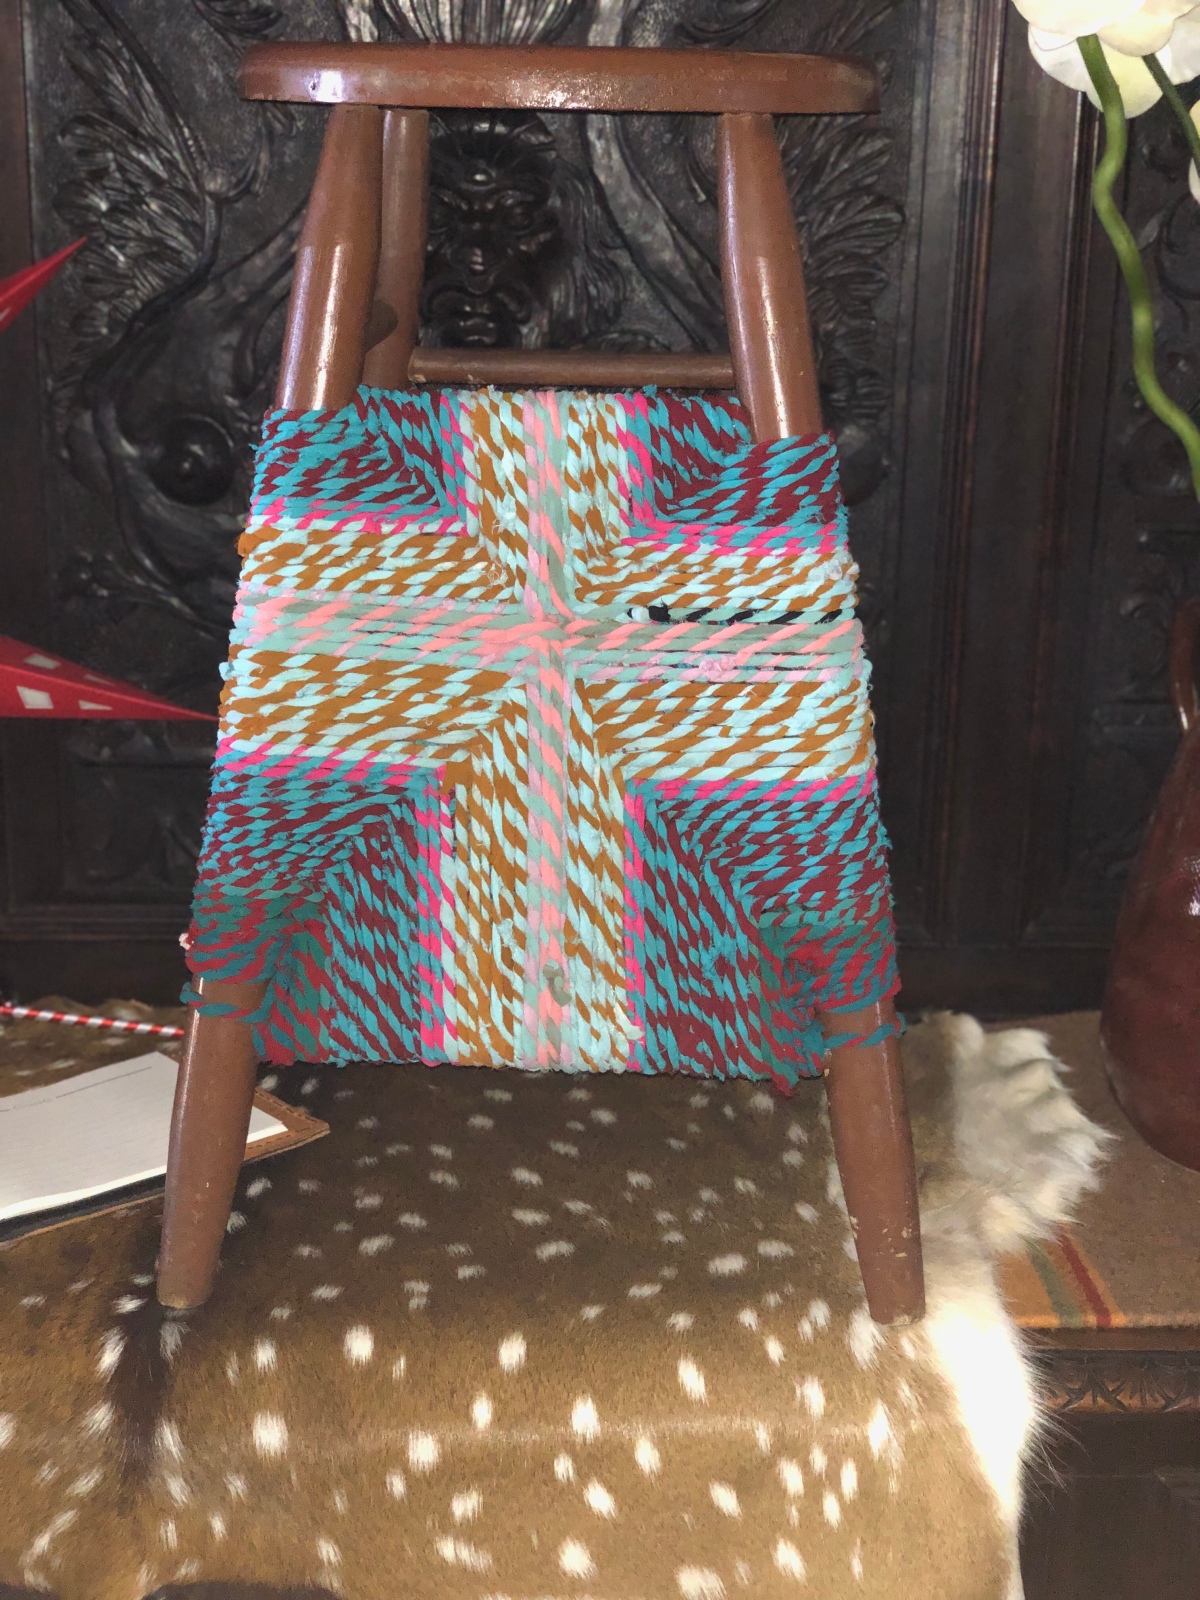
My Grammy’s wooden stool holds a lot of memories for me. I remember sitting inside the legs pretending it was a house, a fort, a jail, a treehouse and a dozen other wonderful hideouts. Grammy would pretend she couldn’t see me when I was under that wonderful old stool. I’m sure it was a great play toy for my cousins too. I remember the day I could no longer fit inside the legs of the stool. Grammy laughed and laughed until I started laughing too. We both had tears streaming from our eyes. Those were great times.
That stool moved with Grammy from home to home until she moved in with my parents. She gave me many of her things as I was a young adult and starting out on my own. The stool was one of them. And through my own moves and life changes I have kept that old stool. I’ve used it in all my kitchens just like Grammy did. At 50 plus years old, the stool finally started having issues with staying together. The hard oak wood is still sound, but the joints, just like my own, are a little loose and the legs and cross pieces would come out of their joints. Glueing helped temporarily but within months the joints would come apart again. I want to continue to use the stool. What to do?
I took string and wound it around the base of the legs to keep pressure towards the center and the stool stayed together. So, like me, that old stool just needed a little help. The string wasn’t very pretty.
I was shopping at the Antiques Week in Texas and north of Roundtop I found a place selling upcycled useful things. I bought some giant balls. Long strips of cut up sari’s double plied and made into beautiful colorful balls of twine or yarn. The balls could be used for decor or for crafting. I wanted to use the twine for Christmas wrapping. I didn’t and the balls have been sitting in a kettle by my fireplace.
That sari cord! Yes, the perfect thing to use on the stool. After securing the base I spent three evenings trying to figure out how to wind and secure all four side at the same time. I needed to create inward pressure on the legs in order to keep the stool together.
I did figure out a way to do that, but felt that I couldn’t continue the pattern until the legs were completely covered. I did decide to go ahead and cover the legs completely. I also figured out how those rush seated chairs are woven in the process.
I’m not finished with the stool yet. But I have one side done. I think it looks I interesting and it will definitely give this chair another few decades of use.
Finding a huge lot of old unused and well used textiles was probably my score of the year. These poor things had been in some European abandoned attic for a hundred years. Talk about dirty! They are tough though. A hundred years of roof leaks, rodent piss, and who know what else hasn’t done much to this wonderful stuff besides make it ugly and smelly. It is still intact, still sturdy and usable. I am trying different cleaning tactics and have abandoned the washing machine with agitator for the coarser hand woven items.
Several soakings in sodium mono carbonate for two to four days is really getting the years of crap off the textiles. I plan to follow up with a final wash with some actual laundry soap to ensure the animal leavings are completely gone.
These fabrics are destined for pillows, table runners and art projects. Maybe I’ll make an apron using leather harness straps too. I have a design in mind reminiscent of an old blacksmiths apron.
My niece and I decided to do a project. She wanted to make a Wallet that would hold her phone. So we decided to just wing it. We needed pockets on the inside to hold money and IDs. And we wanted it large enough to hold her smart phone. This is what we came up with pockets on the inside…
I am often very messy in my creative process. Overtime, I found I am most creative when I just go with the flow. I can’t create or get new ideas without some mess and clutter. But there comes a time in each project when my mess is too much and I am not able to proceed. This always happens when it is time to do what I call the finishing processes, the freemotion quilting, the binding, the mounting or putting on of a hanging sleeve. When I get “stuck” I have to pick up my work area.
A scientist just “figured me out ” ! Her paper explains both of my behaviors. She established that “disorderly environments seem to inspire breaking free of tradition, which can produce fresh insights,” and that explains the first half when I am being creative.
Her second conclusion that “Orderly environments, in contrast, encourage convention and playing it safe, ” makes sense too. When I get to the conventional part of my process, making it actually into a quilt, I need some order in my environment.
So I celebrate my mess! It is what makes my work mine. And I celebrate my order, It is what helps others to understand my work.
The Balancing Change quilt my guild made for Quiltcon 2016 was truly improvisational from beginning to end.
At each step, we improvised and modified. Even the quilting wasn’t decided until the quilt was on the frame. But at each step we kept basic design theory in mind.
Balancing Changes – San Antonio Modern Quilt Guild 2016 Challenge Charity Quilt , view of quilt front.
The Balancing Change quilt my guild made for Quiltcon 2016 was truly improvisational from beginning to end.
We knew we wanted to make a quilt for the Quiltcon Charity Challenge that embodies how random things become organized, how chaos ends up organizing and balancing out in the end. In the greater San Antonio Texas area 2015 saw an overwhelming amount of destruction, Wimberly flooding probably being the worst. I think we did succeeded.
In our first sew-in, we all talked about ideas and we decided a triangle, the symbol of change, would be important imagery. We also discussed traditional blocks that we could use as inspiration, specially the churn dash, as a symbol of change. I saw this an an opportunity for me to get a beta ‘test’ of a improvisational ruleset I am working on to publish (more on that in a future post.) We added a few more rules such as scissors only, no rulers. For at least half of our group, this was a very uncomfortable situation. We all knew this quilt would expand our horizons.
Our first go around resulted in an interesting mess that didn’t inspire us to move further. We looked at it and moved parts around and it just didn’t work. So we let it rest for about a month in order to let our creative juices get to work.
Balancing Changes, view of quilt back.
Sarah Jimenez found a sketch of a black and white triangle with a couple of bars all done in pencil. It began a conversation about the concept of balancing. We considered two bars, but felt that it could be taken as a political statement and we wanted to avoid that even though there is much chaos in politics. We wanted this to be about the abstract concept of changes affecting us and not about a specific idea. Instead of directing the thoughts of the viewer, we wanted our quilt stimulate and open those thoughts.
I had also been reading a lot of design theory and wanted to apply some ideas of depth and movement through relative sizes and layering of objects.
Sarah and I worked together to combine the ideas into the final layout.
Taking the design concept of depth one step further during the quilting process I applied comic book drawing theory. In comic books line value and thickness are often used to indicate depth of field. Thinner lines with color value closer to the background indicates farther away from the viewer while bolder thicker more color value difference indicates closer to the viewer. So I used a variety of very thin 60 wt threads, and thicker 50wt and 40wt threads when quilting. I had planned on using 30wt thread too, but it required mechanically adjusting my machine to accommodate the very thick needle. There was not enough time to get out the tools before the quilt had to be in Pasadena for Quiltcon 2016. I plan on trying the thread weight ideas on a future quilt though. The idea intrigues me.
This quilt really pushed our group to get out of our comfort zone and to really think about improv as a concept that still requires design theory application to get a great results. We are all happy with the outcome. We all learned a lot. I hope this group will do this again!
Two hours later and Gravity is pieced together. Wow! What a great learning experience. Julie at Jaybird Quilts did an excellent job writing this pattern. Each colored block quilt upon skills learned in the previous block. I learned so much that I will use in future quilts. And it was fun! It is not complete yet as I still have quilting and binding to do. Here is a photo of the pieced top.
Since Sassy Southern Sewing, I continued working on Gravity. The grey monotone background was very fast to cut. The kit provided generous amounts of extra fabric so recutting a mistake was no problem. In fact, i cut extra triangles, diamonds and hexagons with the left overs. I plan to make pillow covers with them.
Grey background pieces and blocks for Gravity Quilt cut out very fast. Pictured shows the layout for one section.
Putting the colored blocks and grey tone blocks together took me about 10 hours. Ten hours at a retreat with some of my favorite women in the world with good food and sangria. I could have done it in less time, but at retreat is so much more fun and I worked on it in two days instead of hours spread over weeks.