How to choose the right needle to sew or free motion with

Note: this needs editing

Your goal is to choose a needle that will make a hole for long enough time and also smooth enough that the thread will slide smoothly through the hole in the fabric. The hole shouldn’t be too big to appear permanent and shouldn’t be too small to cause problems, or compromise the strength of the fabric. The needle shouldn’t damage the fabric or the thread.

Here is a sequence of questions to ask yourself when choosing a needle.

  1. What kind of fabric? Woven or stretchy?
  2. What thread am I going to use?
  3. What is the fabric like in detail?
  4. What kind of sewing am I doing?

The Nitty Gritty Answers

Questions 1 and 2 is where you start. Questions 3 and 4 will fine tune to arrive at the best needle choice.

1. The kind of fabric will determine if you need a sharp or rounded needle point. Is the fabric woven or stretchy or knitted?

A. Woven? Is it tightly or loosely woven?

Tight or dense? choose a sharply pointed needle such as topstitch, microtex, universal because You want the needle to penetrate and damage as few fibers as possible. The fibers in a dense weave cannot move out of the way. So, sharper is better for this type of fabric.

Loose woven needs a ball or semi ball point, Because you want to push the fibers aside when it moves through the fabric.

Tight weaves don’t mix well with ball or blunt dull needles. The force of a blunt or ball point striking a dense weave will tear through the fibers and actually rip and pull them in the process, resulting in uneven, irregular holes and damage to the fabric. (Blunt can be a worn out old needle too.)

B. Stretchy, elastic or knitted fabric? All these types of fabric are loose. Choose a ballpoint needle , jersey or stretch needle . You want the needle to move through the fabric pushing away the elastic fibers not cutting though them.

2. What thread are you wanting to use? This will help determine approximately what eyehole type and size to use. The lighter or thinner the thread that is being sewn, the smaller the needle should be. You don’t want a big fat thick needle leaving a big hole behind. Conversely, you don’t want a hole that is too small and the thread runs and wears out , maybe shredding or breaking as it passes through the hole because it’s rubbing on the fabric.

2A. Is it heavy or lightweight thread?

In general, these size needles go with these size threads.

120/19 – some kinds of industrial threads

110/18 – 12 wt thread

100/16 – 30 wt thread , maybe 12 wt

90/14 – 40 wt thread

80/12 – 50 wt thread

75/11 – 50 wt thread

60/10 – 60 wt thread

65/9 – 100 wt thread

2. B. Is your thread strong or weak?

cotton or trilobal polyester? Universal, denim, topstitch or microtex

Weak like an embroidery rayon type of thread? Then choose an embroidery needle or needle with a deeper groove like microtex. The deeper groove will protect the thread from rubbing on the fabric. Don’t have an embroidery needle try go up one size as if the thread were heavier than it is.

2.c is your thread metallic? Use a metallic or microtex needle. Also if having problem lubricate the thread on the spool w thread ease or sewing machine oil. some sewing machines have an add on for lubricating your thread after it comes off the spool. Metallic thread wear out needles faster. I suggest a titanium coated needle especially when sewing with metallic thread.

3. What is the fabric like that you will sew on? In general, the lighter or thinner the fabric that is being sewn, the smaller the needle should be.

Is it tightly woven or very dense or very heavy? Go up a needle size OR choose a needle type with a larger groove or eye hole such as a top stitch or microtex or embroidery.

4. What type of sewing are you doing? Embroidery with its usually weaker thread and lots of densely packed stitches is helped by using an embroidery needle wish has a deep groove to protect the thread.

Are you sewing a lot of layers? Or just piecing two layers? Lots of layers might need a size up.

5. How old is the needle you are using?

A general rule of thumb is to change a needle every 8 hours or at the beginning of every project. BUT! The fabric will tell you when to change the needle by making a “pok-pok” sound. As the wear gets worse, the sound will become louder. I find on my long arm, a needle starts making the pok pok sound at about two or three hours. The sound occurs when fibers are being punched and torn.

Microtex needles make beautiful stitches but because they have very pointed long “noses” that are more easily damaged they must be changed more often. Note: this is my favorite needle type. I use the titanium coated ones in order to get more life from them.

Other needle options:

An interesting needle to try for free motion is the schmetz spring needle. It replaces the need for a specialized free motion foot. And so clears the area to more easily see your work. It also come varieties for different types of fabric such as topstitch, ballpoint, stretch, denim, quilting.

Remember in the scheme of things needles are cheap! Change them often! Needles are specialized for different combinations of thread, fabric, and job. The wrong needle will cause shredding, breakage, and frustration.

Other questions

My thread spool says use a diff size needle… use what they recommend. Example Superior Thread microquilter says use a #14 or #16 needle. It is 100 wt thread and works great with those size needles! Normally 100 wt threads use a thinner needle. But Superior microquilter is super strong and is designed for using with the larger needle size. But, 100 wt silk thread on the other hand sews better for me with a thinner needle like a #10 or #9.

What do the needle numbers mean?

Needles usually are denoted by two numbers. The bigger number is the diameter of the needle in 1/100’s of a millimeter. The smaller number is an arbitrary U.S. notation. In general the smaller the number the thinner the needle.

If you use a #75/11 or #80/12 size needle for 50 weight thread, you should use a needle with a larger eye when sewing with a heavier thread. I recommend a size #90/14 when sewing with a 40 wt. thread and a #100/16 needle when sewing with a 30 wt or 12 wt. thread.

Is your thread shredding or skipping stitches?

First try a new needle, old needles can get burrs or sharp areas. Second, check your threading path (rethread), third, check your tension if you changed thread thickness, your tensions will be different. Also check the quilt top tension between the leader bars, too taite will cause this problem if on a longarm, fourth, try a new needle and go up one size. Check your needle plate for burrs.

Titanium Needles?

Yes!!! https://freeformquilts.com/2014/11/25/titanium-needles-are-not-too-expensive/

Best Longarm Side Clamps Ever!

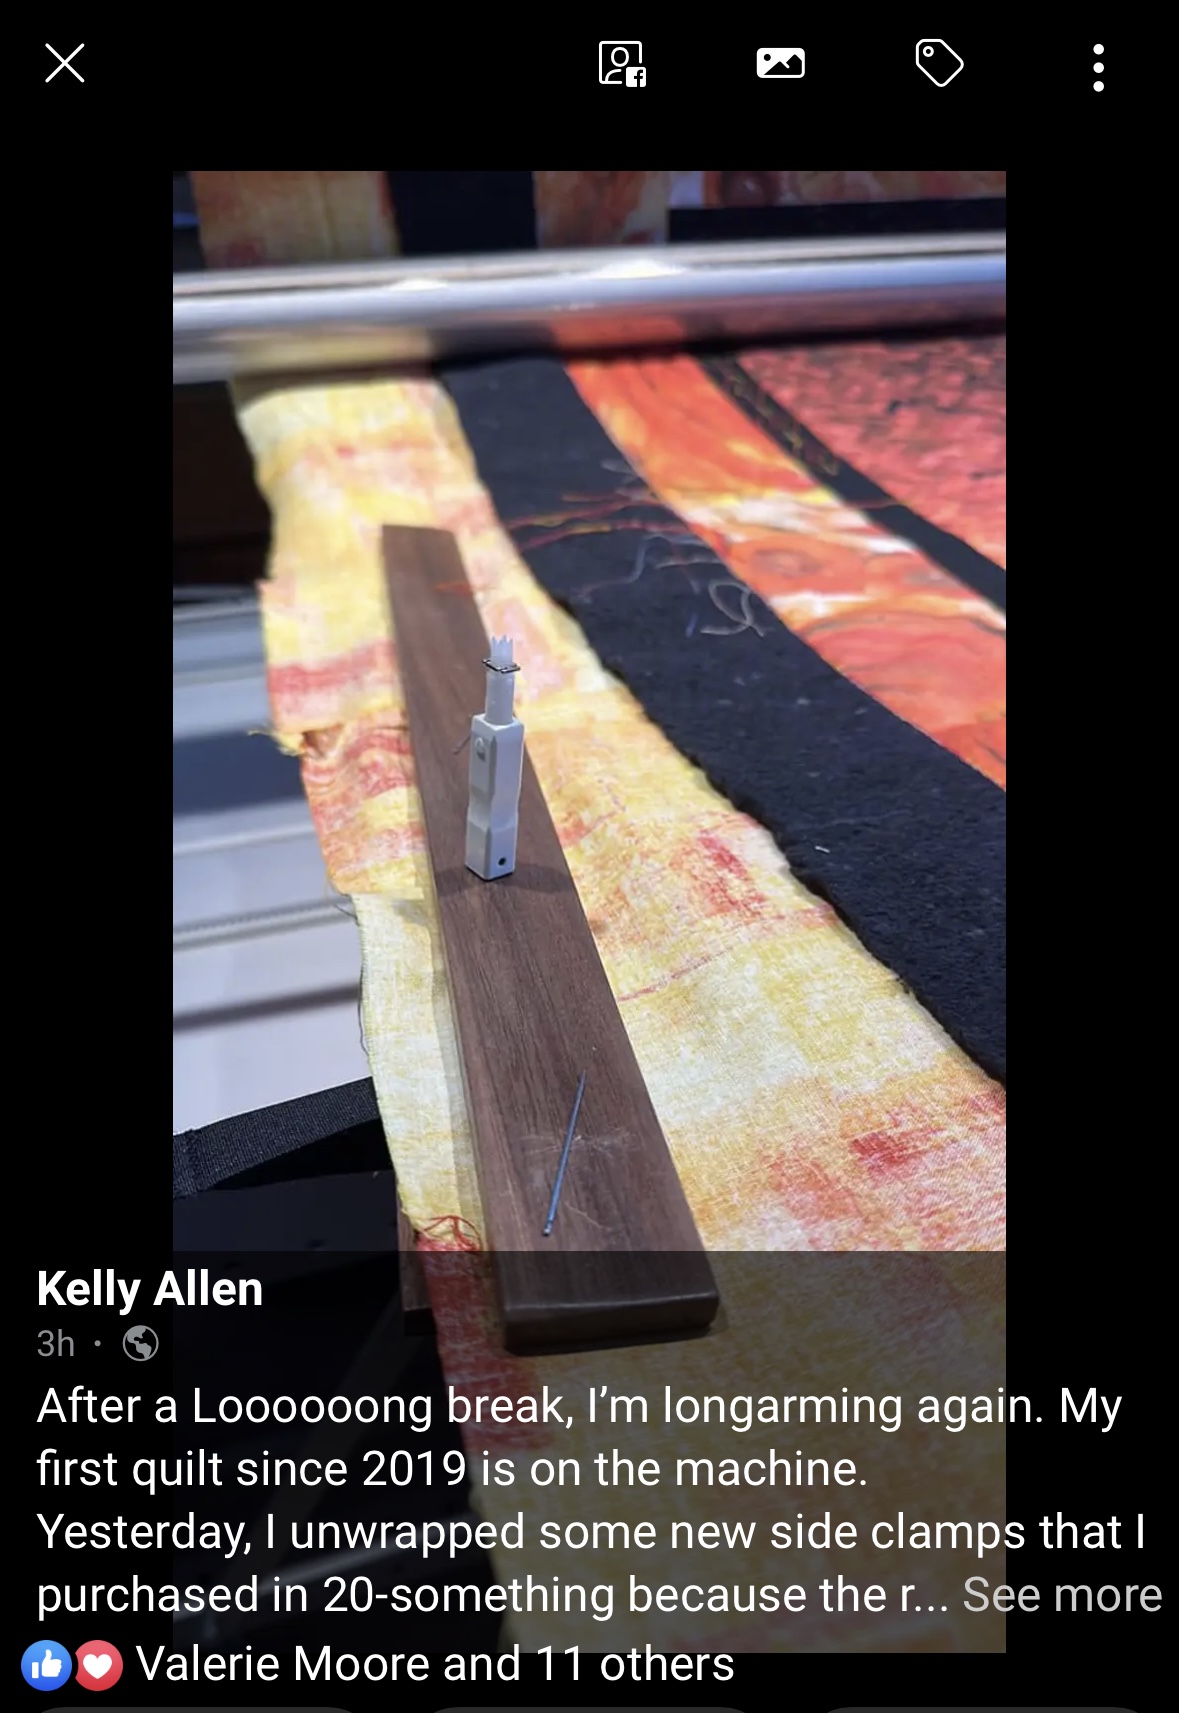
After a Loooooong break, I’m longarming again. My first quilt since 2019 is on the machine.

Yesterday, I unwrapped some new side clamps that I purchased in 20-something because my red snapper clamps were worn out. And, I am amazed! I wish I’d had these in 2009. Best clamps EVER!

Bonus: they have magnets in them so they hold my little tools that get lost easily. Thank you Fredrick C Hill! You are the best!

You can find these side clamps on Fred’s Website at http://frederickchill.com/sales_longarmSideClamps.php

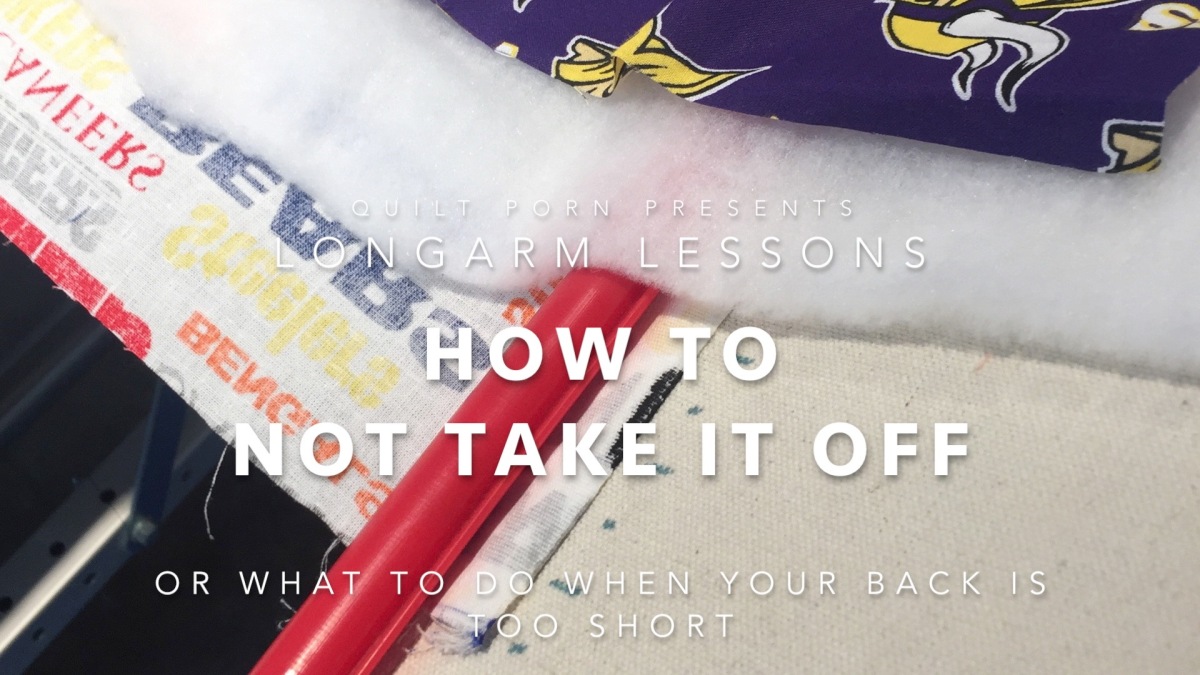
Longarm Lesson – Backing Too Short

Stuck with a quilt back that is too short? This is how I solved the quilt backing too small but already mostly quilted on my longarm problem.

One late afternoon, the machine was humming along and everything was going really well. I’d already finished two charity quilts. Everything was perfect, I had enough backing provided in the quilt packages and I was racing through the third charity quilt I’d promised to do. Suddenly, disaster struck!

Oh NO!

Always measure your backing or you will be sorry.
Moral of this photo: Measure your backing even if a customer has always given you enough. Always measure!

Oh NO! NO! NO! NO! The quilt backing provided was too short! I literally slapped myself up side the head. How many times had I admonished new longarmers to measure everything provided before you even put a quilt on your machine?! How many times!?!

GEEZ! NOW WHAT DO I DO!?

I called my friend Carol and put on my thinking cap. After sitting and pondering together for a bit and after a refreshing glass of _______. (iced tea?) I had an epiphany. I could solve this without taking the quilt off the machine, without having to go through the agony of getting it straight again, without having to take the several hours it seemed this disaster would need.

The solution turned out to be hilarious and my friend Carol took a video. The simple solution was to take off just the bottom of the quilt and leave the top attached.

I had a tea cart that set a small sewing machine on and just sewed a strip onto the bottom of the backing. It was a quick and easy matter to just re-attach the bottom and quilt on. Watch how I did it.

Machine Experiments with 12 Weight Thread : Part 1

Adding to this post over time will allow me to keep track of what I try with this very thick thread. I resort to hand stitching when that is the ONLY way to get the effect I want. Superior Threads has a new thread that looks delicious for both hand sewing and also mentioned that their Sew Sassy 12 wt/3-ply Polyester thread can be run through a machine. This thread is kinda fuzzy and thick and looks like cotton, but doesn’t break like cotton. I know that you can put just about anything in a bobbin. But Superior mentioned running it through a needle!?! Really? I have to try this.

Experiment 1: Using 12 wt Sew Sassy on the Innova Longarm

Working on a improvisational modern quilt, I wanted to try out comic book drawing theory. The basic idea is that thin lighter lines that more closely match the background recede into the distance while heavier bolder thicker lines come forward into the foreground. I quilted the background with 60 wt Bottom Line thread. I also quilted some of the shapes that should appear towards the back of the arrangement with 50 wt and 40 weight threads. One shape should appear to be floating out on top in the front and I though I would try Sew Sassy 12 wt. Also to echo the plan on the back of the quilt, I decided to use the Sew Sassy in the bobbin also. I figured that it would be easier to balance the tension if the same thread were in the top and bottom of the machine.

Need a Big Needle

Superior recommends a size 21 needle. , a very THICK needle. Necessary as this thread is very thick.

I had to “loosen” the bobbin tension screw as the thread is thicker and effectively caused a tight tension. I use the TOWA gauge and got it to about 180. That is what I aim for no matter the size of the thread.

Timing adjustments may be necessary

Test sewing showed very odd results. The stitching shows that this super thick needle is actually deflecting during stitching. This needle is so thick it should not be deflecting at all. I slowly turned the machine by hand through one stitch cycle. I believe I will have to re-time the machine with the thick needle in place.
I will try this out after I get this particular quilt off the frame.

Fabric Type Matters

Also the thickness of the needle is causing some problems with the cotton quilt backing fabric. It is spreading the weave apart so much that it looks like the fabric might easily tear at this stitching line. I do think with a very loose weave fabric such as wool, felt or even burlap (art quilt anyone?) that it will be very possible to use Sew Sassy in the needle on my long arm.

Possible Next Tests with 12 wt Sew Sassy:

Try using a fabric with thicker fibers and looser weave.
Reset Bobbin distance and timing so I can use a 21 needle on my longarm.
Make sure to adjust tension both in the bobbin and top tension assembly.

Thread Weights Look Like What?

Lots of science boils down to this: 

Higher wt number on thread means it is skinnier and will kind of hide so the fabric is more emphasized. The lumps and bumps are more emohasized. 

Lower wt thread is thicker thread so the thread shows more. 

Choose your thread weight by the effect you want to get out of your quilting.  

Of course, if you want to break the rule of thumb, then pile on and paint with the skinny thread to show up more like Libby Lehman does it. 

And think about this, if your freemotion or longarm pattern requires a lot of traveling over previous stitches, a thinner thread won’t pile up as much as a thick one. 

On Long Arm Quilting with Monofilament

For Superior Threads Monopoly in the top and Bottom Line (or any thread in the bobbin) in the bobbin. I use the TOWA tension gauge to set my bobbin case to a value of 180. I loosen my top tension knob about 2.5 turns.

This week on my facebook longarm quilt group, a member asked about using monofilament. I mentioned monofilament in a blog post https://wordpress.com/post/freeformquilts.com/626 a while back. Now that I have experimented more with monofilament I need to save my observations here.

I want a monofilament that sews like regular thread but “disappears” into the background fabric so that the quilting and fabric are emphasized instead of the thread lines. After many combinations and brands of monofilament, I finally came up with a repeatable easy solution that works every single time for me. I use Superior Threads Monopoly in the top and Superior Threads So Fine in my bobbin.

Thread Chemistry affects stitching

I tested several clear monofilament threads. Mono filament thread is a single continuous strand of fiber of polyester. Polyester seems to be stronger than other monofilament thread types.

Nylon monofilament threads stretched more and I didn’t like using them, even when I had all the tension loosened way up, they still stretched. I didn’t like how it formed stitches and I liked even less how much they could pull fabric up and warp it.

Quality of thread manufacturing also affects the stitch out. A single strand that is made to exacting thickness will give a consistent result. In a multi fiber thread, slight variations of thread thickness are compensated by the multiple fibers. In a mono filament, a thinner section of thread can cause breakage and malformed stitches.

Once I got my machine setup to form beautiful stitches Superior’s Monopoly did not break. Monopoly also comes in both a clear and a smoke color.  Monopoly is matte finishe and so you don’t see a “sparkle” when looking at the quilt from an angle. The smoke is also clear but smokey looking which is great on darker fabrics as light reflectance is minimal and this thread really disappears on dark backgrounds. Due to its matte finish and strength and consistent stitching, I greatly prefer Superior Threads Monopoly.

What is monofilament?

Keep in mind any mono (one strand) filament thread is going to be weaker than a two strand or three strand thread, to compensate that one strand is going to be a little thicker than the single strand of a multi-strand thread. It’s worth mentioning because you might observer that the thread is a little thinner than what you would normal consider for a specific needle size. In face Superior is only .1 mm thick! Needle choice will have a BIG impact on stitching with monofilament. Try first what the manufacturer of that thread suggests. It really does matter.

Needle Size

Superior recommends a #14 needle. I generally use a #14 needle but may go up to a #18 needle in certain cases. If it seems the needle flexing is causing the monopoly to break, go up to a bigger needle size. This is more of an issue when freemotion quilting with monopoly. A thicker/bigger needle is stronger and going to flex less.

Threading path changes

If I am having the monopoly break, I check my threading path. I thread through the only one hole in the top guide post instead of the normal winding around through both holes on the top guide.

Tension really matters

The key to beautiful stitches with Monopoly is your thread tension balance between the top and the bottom. You will need to loosen your top tension. On my Innova two to three full turns to loosen the top tension knob are required. Exactly how much depends on the thread I choose for the bobbin.

Bobbin Thread Affects Stitching with Monofilament

I have found that using monofilament in the top and bobbin really doesn’t work. Monofilament, because it is only one strand of fiber, is very slippery. The monofilament will not “grab” onto another monofilament thread and so the stitch doesn’t form and hold. Sometimes the stitches even skip completely. To get a good stitch formation, I have found that using a multi filament thread in the bobbin is a must. The multi-filament thread will grab the monofilament and form a better stitch.

I choose my bobbin thread based up on the effect I want to see on the back of the quilt. If I want the bobbin thread to have a disappearing effect, I will choose a bobbin thread such as #60 bottom line by Superior and very closely match the color to the quilt backing. Bonus to this combo is that Bottom Line is very thin and a LOT of yardage fits on a bobbin. Less bobbin changes is a very good thing in my mind. I often use #50 weight of many types such as cotton or trilobal polyester. I rarely go to a thicker thread, but have successfully used #40 weight polyester thread too.

Bobbin Case and Tension

The key to the bobbin thread no matter the thickness, is to have consistent tension.I keep repeating this because it is just that important.  I have a TOWA bobbin gauge and that has made all the difference in my long arm quilting. GET ONE!

Summary of What I Do to Set Up for Monopoly

For Superior Threads Monopoly in the top and Bottom Line (or any thread in the bobbin) in the bobbin. I use the TOWA tension gauge to set my bobbin case to a value of 180.  I loosen my top tension knob about 2.5 turns. Then I test on the edge of the quilt sandwich set and adjust only my top tension knob either looser or tighter to get a perfect stitch. I also test after each bobbin change or whenever I feel the stitch isn’t right.

Problem Solving Tips

  • Pokies on the top = loosen top tension and/or check bobbin tension with gauge
  • Pokies on the bottom = tighten top tension and/or check bobbin tension with gauge
  • Shredding thread.. quilt fabric and batting tension might be too tight. Bop it and see how it bounces. I have a habit of making this too taut.
  • Refer to my troubleshooting notes.


I lost my hair, stubbed my toe and decided to write a letter to Santa… and Neal of Innova Longarm.

Oh Santa! Did you know shouting curse words is very difficult while pouring anesthetizing agents down your throat? I actually choked. Yes, Santa, I CHOKED! Please give me an undo.

Dear Santa,

Since my younger cousins are feverishly writing to you, I thought that possibly you wouldn’t mind if I wrote you a short letter too. I know it’s been years since I sat on your lap. Well there was that one time at that party last year… and you suspiciously looked like that guy I sleep with every night.

Please Santa the one thing I really wish I could have for Christmas this year is …

UNDO

The reason I really need UNDO is to save my hair. And my marriage. Probably in that order. My husband really likes my hair. I like it too.

Last night was I working on this crazy wonderful project that I have maybe 150 hours into already. Being the geek that I am, I decided to use the masking feature to mask out my appliques from a stellar cloud pattern background. I plan doing some awesome freehand work in the spaces. So I set about 1250 push pins around this shape. It’s curved, thus it requires more pins. I saved my project, thinking it would save my pins too. Then I joined the pushpins to create a shape for masking. It’s a really cool Innova thing. I messed up and lost my push pins and had to do it all over. No problem. It only took me and hour the first time. The push pins weren’t saved by the software. So I did it again… ALL of it… All … over … again. ALL OF IT! Have you ever been so frustrated you pulled on your own hair? ARGHHH!!!

Oh Santa! An UNDO would be a really really awesome thing for Innova Autopilot and Navigator to have. It also would mean I would stop stomping through the house flinging open the bar cupboard and pouring gallons of anesthetizing agent into my stomach while gurgling unintelligible curse words. Did you know shouting curse words is very difficult while pouring anesthetizing agents down your throat? I actually choked. Yes, Santa, I CHOKED! Or maybe it was the hopping up and down while doing all the above. Anyway… if I had an undo after I accidentally clear 1250 push pins while I was joining them to make a pattern on my Innova Autopilot… then I wouldn’t tear all my hair out. And a bewildered husband wouldn’t come up on a gurgling choking wife with frazzled hair and a bleeding scalp in a heap on the floor whispering repeatedly, “if only I had an undo… if only.. undo….”

Please Neal, Please Mike, I’m sure Santa wouldn’t mind if you delivered this early so he wouldn’t have to go to all the work with his elves.

Sincerely,
The girl who stubbed her toe when she fell in a heap while gurgling, “if only I had an undo”.

Creatives Worldwide Blog Hop

As you all know, I’m a fan of Rose Hughes and her fast piece applique method. I have all her books and I can’t recommend them enough for anyone wanting to get into art quilting. She is now participating in a blog hop with this . I decided to follow along too.

Four questions to answer and I think it might clarify some things in my mind.

#1 What am I working on?
I’m working on four projects concurrently. The first is my giant rainbow elephant applique that is currently on my long arm. The second is a first time attempt at a drunkards path. I’m a member of the San Antonio Modern Quilt Guild and so I’m using a ‘modern’ ashy grey solid and mixing it with my beloved batik. All shades of blue in this case. I have no idea how it’s going to come out. Currently the blocks are all over my dining room table while I get inspired as I move them around. Hubby calls this “working on your puzzle”. The third thing I”m working on is a “fast piece appliqued” sea-horse art quilt. My friend Carol wanted to learn how to do it and so we each picked out a scene to do. We’ve got the piecing done but not the couching and quilting. I can never be working on just one thing at a time. I love having something arty that needs embellishing around that is portable so I can work on it in the car or on a plane. The fourth thing on my quilty agenda is outlining and making samples for my free motion quilting class that I’m teaching in November. I decided having some sample of thread tension and speed related issues would be nice to show. I think it’s like doing a foot book or a stitch out of all the stitches one’s machine can do. I’m learning a lot. The process of teaching and prepping to teach is very educational to me. It’s making me grow and be a better quilter myself.

#2 How does my work differ from others in the genre?
I supposed I don’t have a style yet. I’m still learning, trying other’s methods and muxing them together to invent easier ways of doing them. So I don’t know that it differs, other than I really mix it up a lot and you’ll find lots of different techniques on my work. Right now, you probably won’t see anything done the same way twice either. I don’t really like rules. So I suppose free form and rule free is more the way I do things. Though my drunkards path quilt now has a lot of straight lines between the blocks. hmm… guess I’m breaking my personal ‘rules’ too.

#3 Why do I create what I do?
Inspiration comes from everywhere. But most of all, I get inspired when I’m told I can’t do things “that way” or “that’s not going to work” or “no one does it that way” or “that’s not art.” Hearing statements like that just fire me up and make me want to prove that it can and is and is possible.

#4 How does my creative process work?
With my career in coding and web design work, I have always had the philosophy “work hard now, so I can be lazy later.” That translates to thinking about things a lot before starting work. I would rather get it right the first time and have a plan for dealing with the problems than get blind sided by issues later and have to apply a lot of bandaids to the code. Do it right the first time, so it wouldn’t have to be redone a second time. Take the time to do it right. That said, my philosophy, while great for programming, can get in the way of art. What ends up happening is that I tend to ponder on something for way too long before I go for it. But I am not fixed once set on a path. I also tend to switch strides in the middle of a plan and morph it into something else, something better.

Spiral Eye Needles are The BEST Invention EVER!

Pam turner creating her prototype Spiral Eye Needles

Spiral Eye Needles are The BEST Invention EVER!

I found these spiral eye needles about two years ago and I have fallen deeper in love with them every time I use one. Pam Turner had an idea and invested her life savings in it because she felt it was so good. I agree with her. 

Her easy threading needles blow the Clover top loading (not-so-easy) needles completely away. Pam’s needles are ‘side’ loading.. get that? Side loading. That means the thread goes in from the side. The advantage is the thread isn’t pulled out of the end slot when going through the fabric because THERE IS NO END SLOT. This easy threader stays threaded. 

I use this most of all for burying quilt threads on my long arm. But I multiple size of her spiral eye needles and use them for embroidering, beading and other quickie things. 

The only minor problem I have found is when embroidering if I have the side slot turned towards the fabric and pull the needle through with pressure. In this situation, once in a while the fabrics weave can get caught in the slot. The advantage of not having to strain my eyes when threading far outweighs this. It’s easiliy solved by spinning the needle so the slot is not pulled against the fabric as I stitch.

As I get older, my eyes switch more slowly from distance vision to close up. Threading needles has become harder and takes longer because of it. The Spiral Eye Needle actually is faster to thread even when my eyes are focusing well. I’ve given a few of them as gifts. 

These aren’t the most inexpensive needles you will ever buy, but they are the cheapest if you count the amount of time you spend threading and if your vision is a little bit off they will save you even more time.

I had a professional longarm friend tell me that the spiral eye was too expensive for her to use. I asked her how long it took her to bury threads… 10 minutes to an hour depending on thread changes… Most pros get paid by the square inch. If you could cut the thread burying time to 25% of what you spend now… how many more quilts can you get done. This is a cheap investment for a pro. And for someone like me… it’s a godsend for my eyes, sanity, and patience. 


Plus I use one of those little strawberries with sharpening grit. My favorite two year old needle is just as good and sharp as the day I got it. 

Note: These are photos from Pam’s website http://www.spiraleyeneedles.com/