Sharper is always better!

Sometimes I forget my own rules. Usually it’s intentional when I am in an improvisational mood. Sometimes, I am lazy and just don’t want to go find something or go to the store. Sometimes I’m just not thinking. Brains are in our heads for a reason! We should always use them.

Last night as I was cutting just two layers of fabric and my rotary blade was requiring a lot of pressure and making a loud noise as I was cutting. It was taking forever to cut the fabric. I was only about 10% of the way through all I needed to cut. Hubby came in the room and blurted out, “wow, that’s loud! How tough is that fabric?”

I set the cutter down and slapped my forehead. DUH!

Usually I have to change the rotary blades because I nick them and they don’t cleanly cut. Apparently this blade was immune to my propensity to leave needles in fabric and escaped the usual nicks. It was cutting cleanly so it didn’t occur to me that the blade was dull.

Changed the blade and was able to stack my fabric in five layers and cut the last 90% in half the time it took to do the first bit. And, it cut like butter.

The really interesting part was… after cutting I looked at my cutting mat. The dull blade made deeper wider grooves than the sharp blade. Good cutting mats are expensive.

Moral relearned: sharper cutting blades (scissors, knives, blades) are better! Safer! More accurate! And save money!
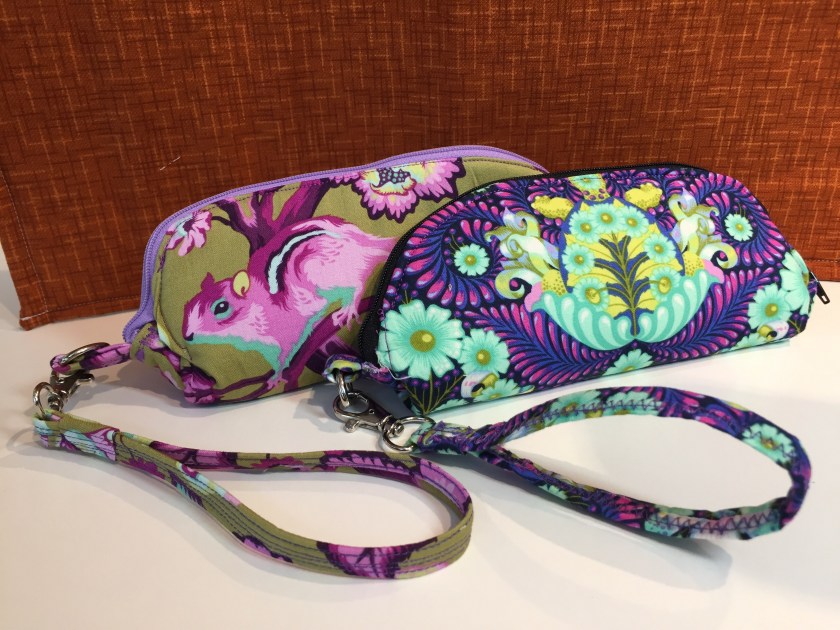
Perfect Mitered Binding

Mitered corner sewn on the machine.

I have long admired the teaching skills of Ricky Tim’s. His way of explaining this makes it easy for me. Though he uses a very special and useful tool, I find myself using any square ruler with a corner to corner line in it. Here is a video someone posted that shows the technique.

Ricky Tim’s Quilt Show Mitered Binding

1880-1900 Linen, Hemp, Cotton Textile Cleaning

Finding a huge lot of old unused and well used textiles was probably my score of the year. These poor things had been in some European abandoned attic for a hundred years. Talk about dirty! They are tough though. A hundred years of roof leaks, rodent piss, and who know what else hasn’t done much to this wonderful stuff besides make it ugly and smelly. It is still intact, still sturdy and usable. I am trying different cleaning tactics and have abandoned the washing machine with agitator for the coarser hand woven items.

Several soakings in sodium mono carbonate for two to four days is really getting the years of crap off the textiles. I plan to follow up with a final wash with some actual laundry soap to ensure the animal leavings are completely gone.

These fabrics are destined for pillows, table runners and art projects. Maybe I’ll make an apron using leather harness straps too. I have a design in mind reminiscent of an old blacksmiths apron.

Grain sacks and antique toweling first soaking in cleaning solution.Antique grain sacks and linen flax and hemp textiles submerged for cleaning

Dye Class at Houston Quilt Show 2017

I took a gradations dying class from Cindy Lohbeck. Her class was all about creating color value. I have been learning a lot this past year about value which is basically lightness or darkness of colors. In Cindy’s class we used dilutions just like I did in chemistry class back in college. We made six values from light to dark of seven different colors. It was awesome to make 42 fat quarters of these rich colors. It is something that I am going to keep in mind when I dye in the future.

On originality vs doing someone else’s pattern.

Catbird has a point of view that I ascribe to. Telling it in story form is excellent. Here it is:

Long ago in the time of gods and goddesses, there was a mountain nymph named Echo. She lived on Mount Cithaeron with other nymphs. One of their frequent visitors was Zeus, who … ahem … enjoyed the company of the beautiful sprites. Zeus’s wife, Hera, was a jealous type, and she followed Zeus to the […]

via The Curse of Echo — Catbird Quilt Studio

My new use for an old spool tool

I was getting frustrated with trying to control a very long binding I was putting on a king size quilt. I tried throwing it over my shoulder. I tried putting it on a paper towel cardboard tube. I tried draping it over my sewing machine. Finally, I tried my trusty cone holder! Success!

Improv wristlets

My niece and I decided to do a project. She wanted to make a Wallet that would hold her phone. So we decided to just wing it. We needed pockets on the inside to hold money and IDs. And we wanted it large enough to hold her smart phone.
This is what we came up with pockets on the inside…

Swiveling wrist straps…

And our finished product…

Creativity and Mess, Each has a Purpose

I am often very messy in my creative process. Overtime, I found I am most creative when I just go with the flow. I can’t create or get new ideas without some mess and clutter. But there comes a time in each project when my mess is too much and I am not able to proceed. This always happens when it is time to do what I call the finishing processes, the freemotion quilting, the binding, the mounting or putting on of a hanging sleeve. When I get “stuck”  I have to pick up my work area. 

A scientist just “figured me out ” ! Her paper explains both of my behaviors. She established that “disorderly environments seem to inspire breaking free of tradition, which can produce fresh insights,” and that explains the first half when I am being creative. 

Her second conclusion that “Orderly environments, in contrast, encourage convention and playing it safe, ” makes sense too. When I get to the conventional part of my process, making it actually into a quilt, I need some order in my environment. 

So I celebrate my mess! It is what makes my work mine. And I celebrate my order, It is what helps others to understand my work.

Read about Kathleen Vohs’ Study here